Solar System Twirl Decoration and Paper Plate Space Ships

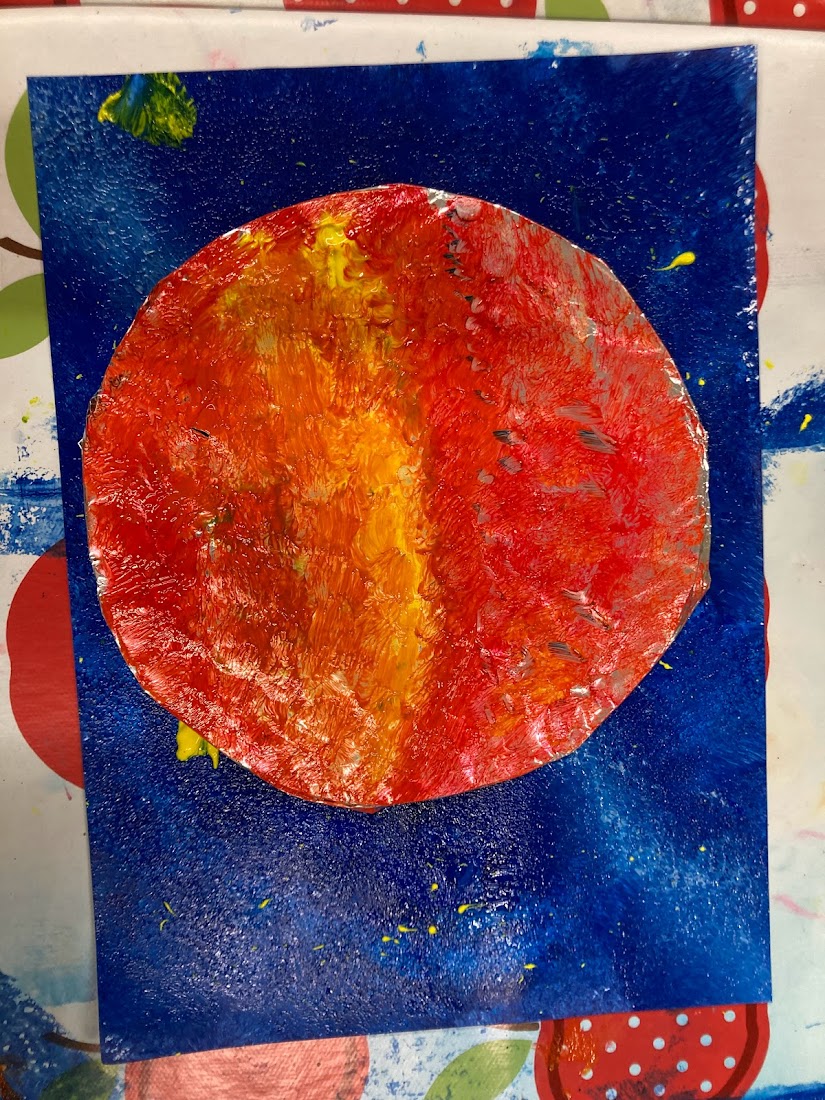
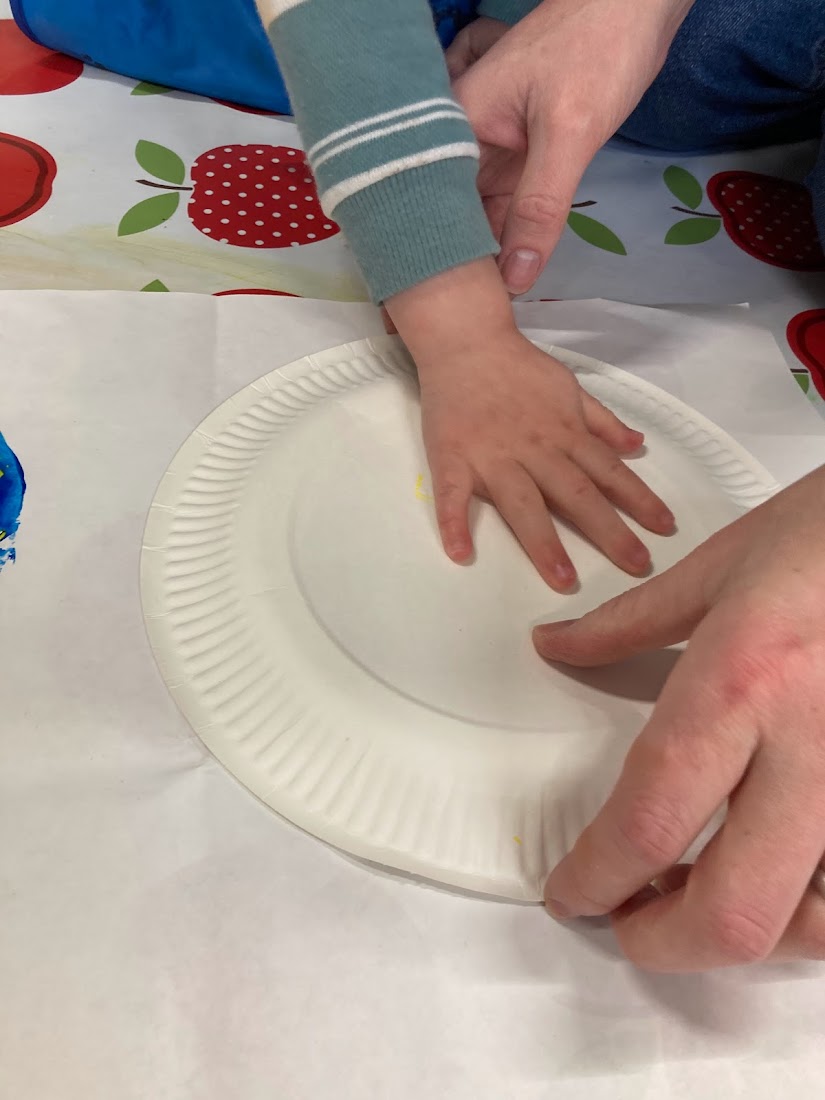
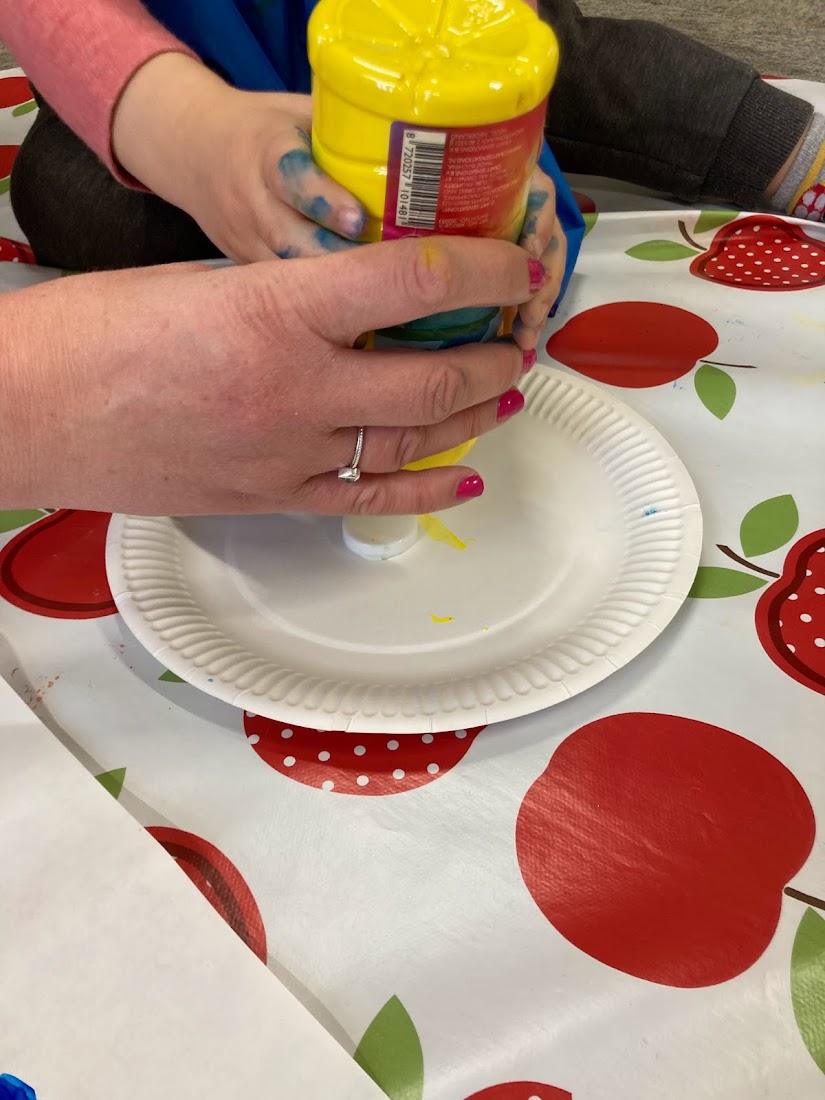
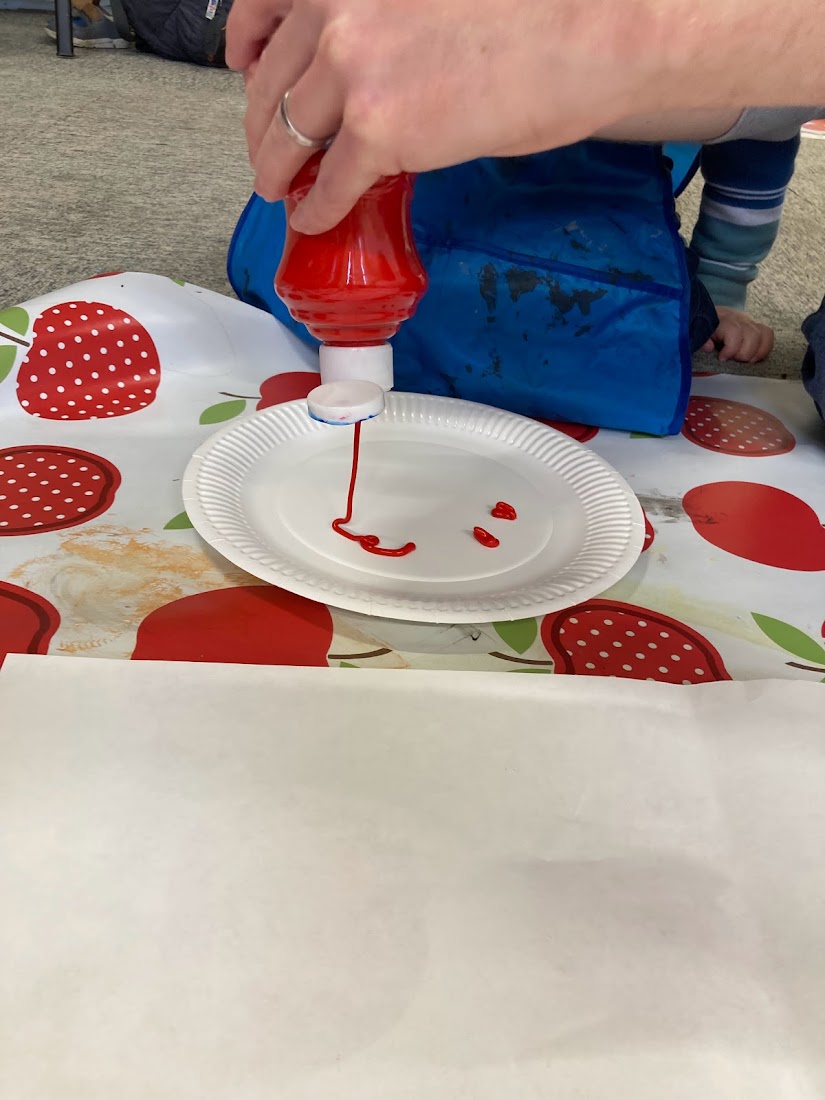
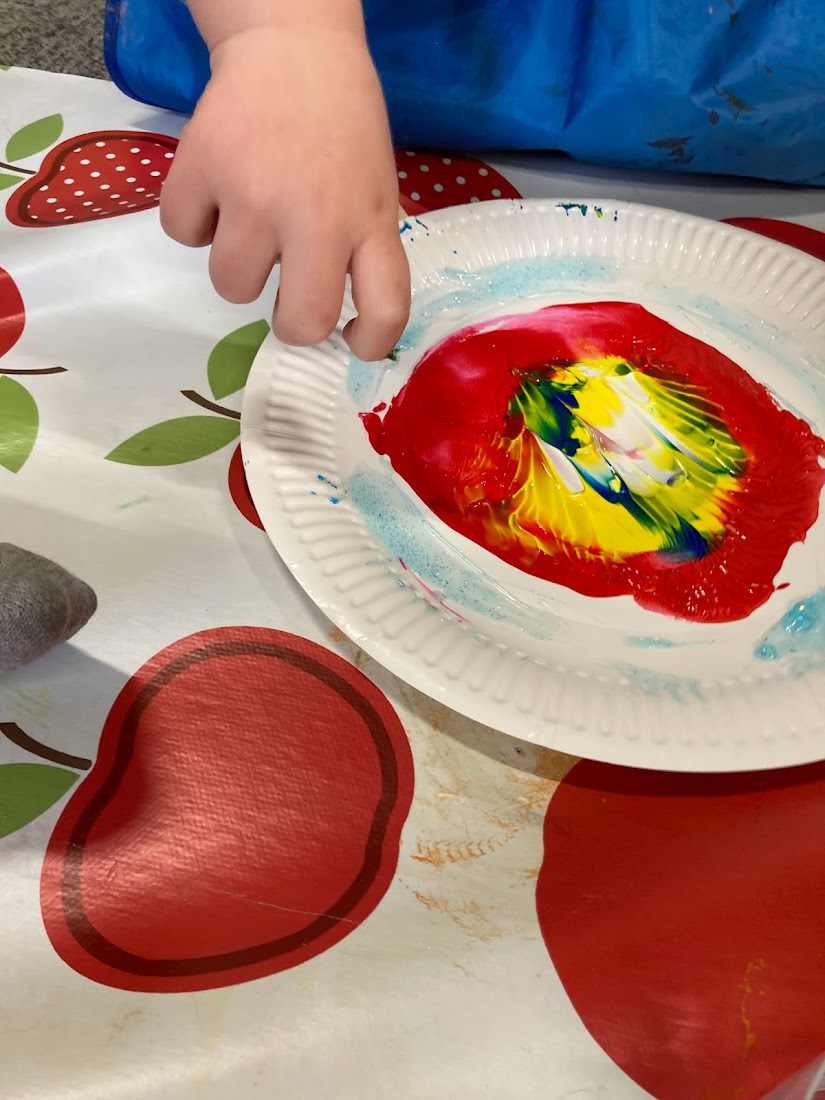
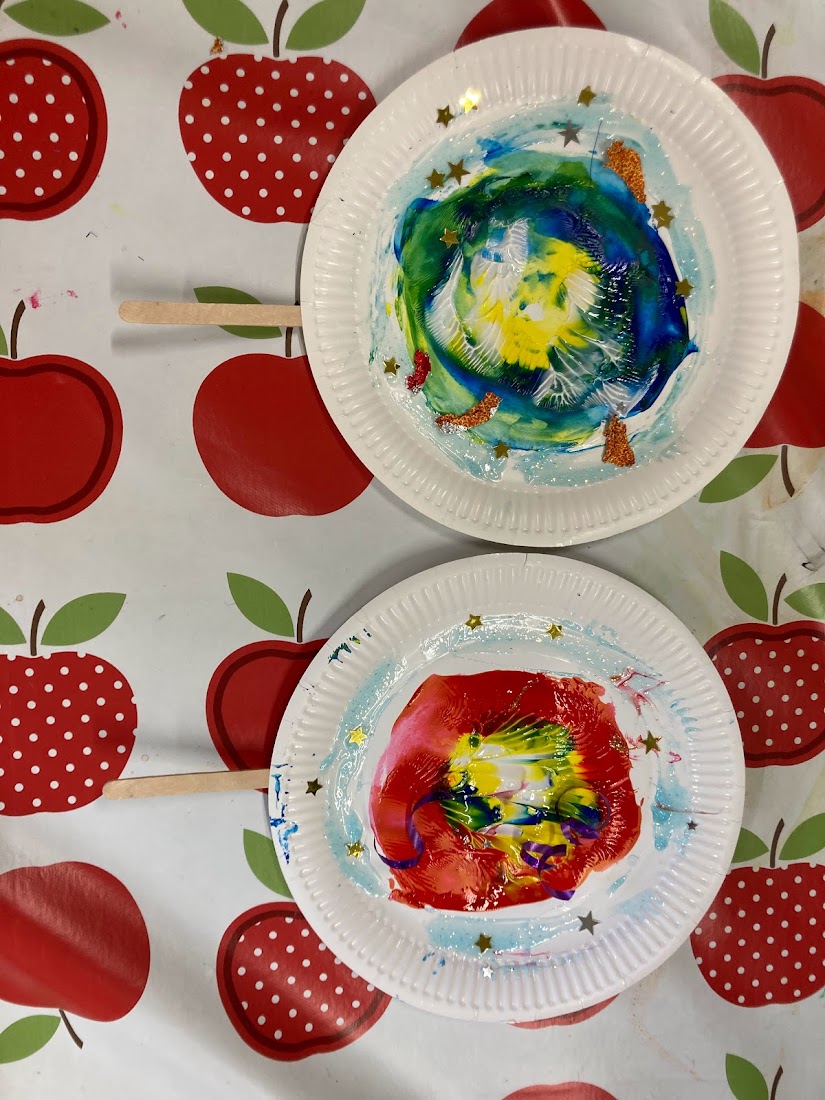
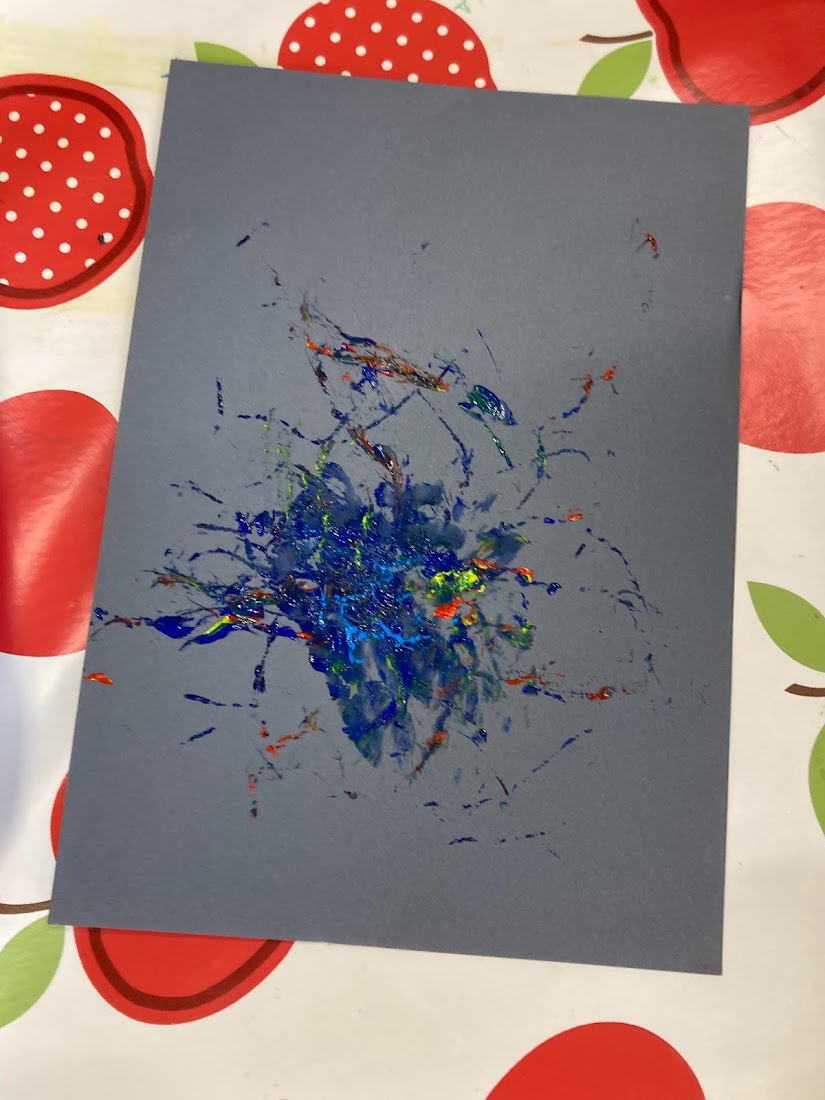
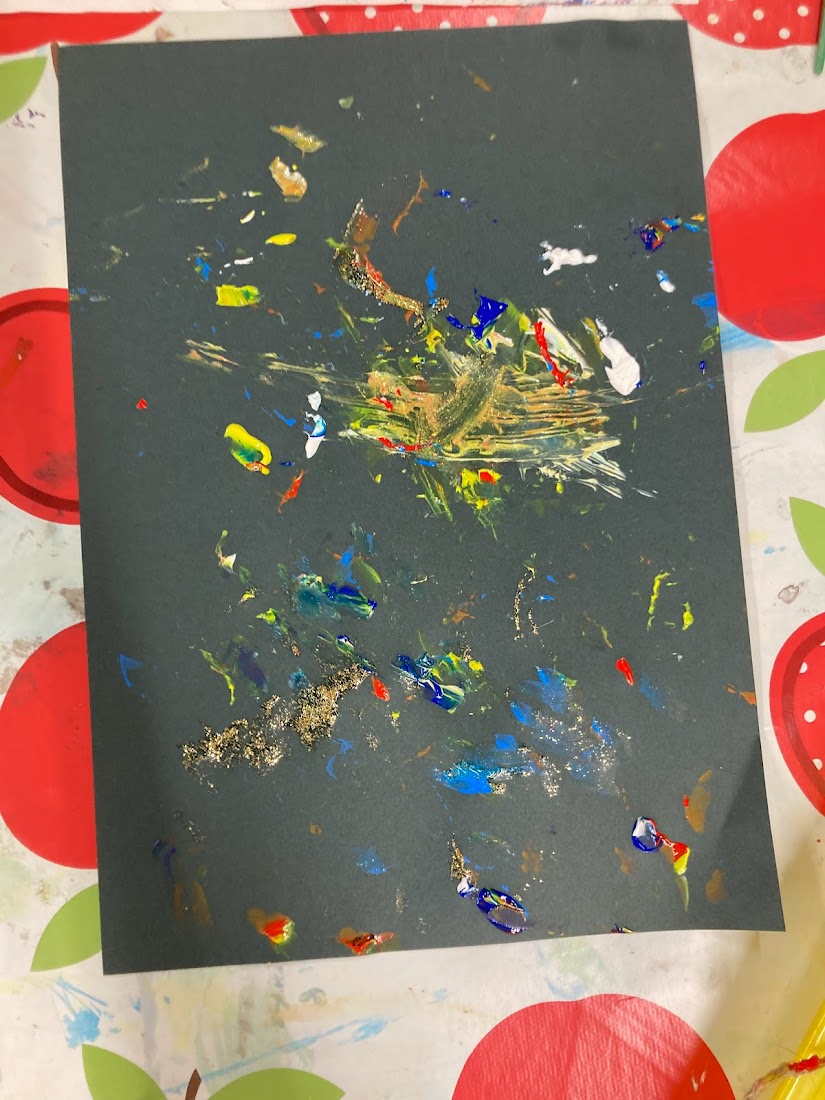
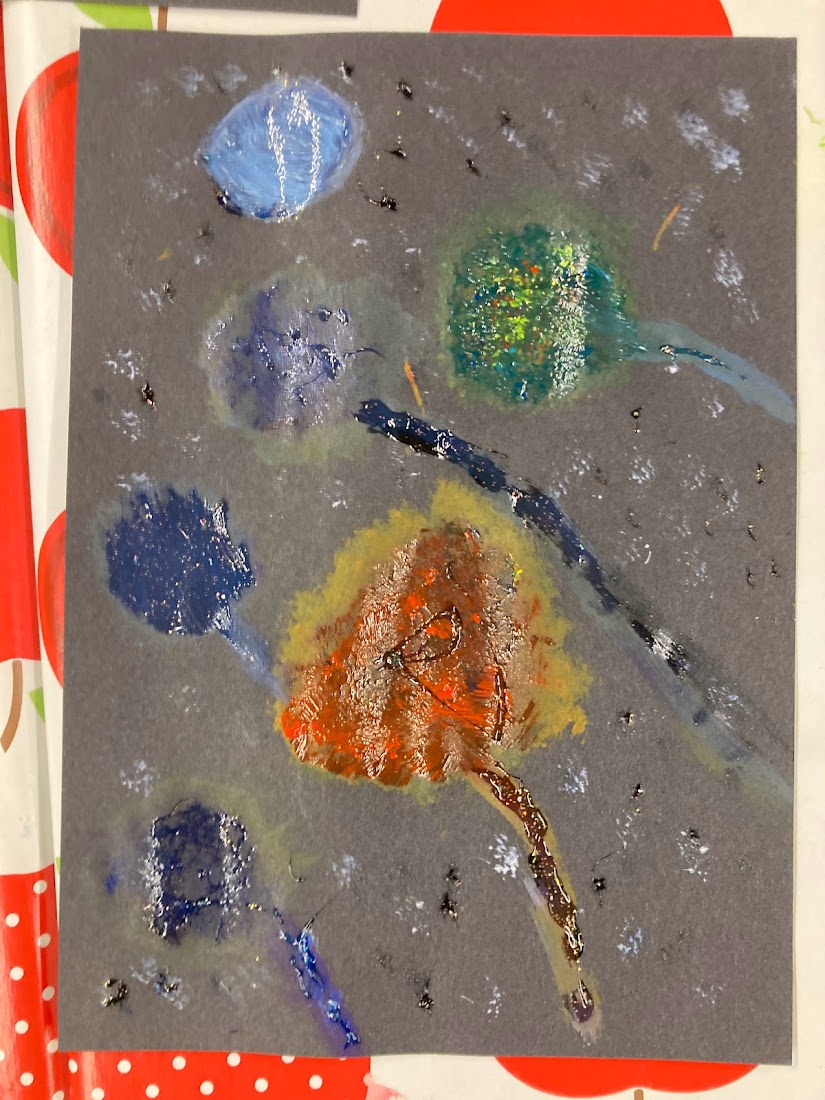
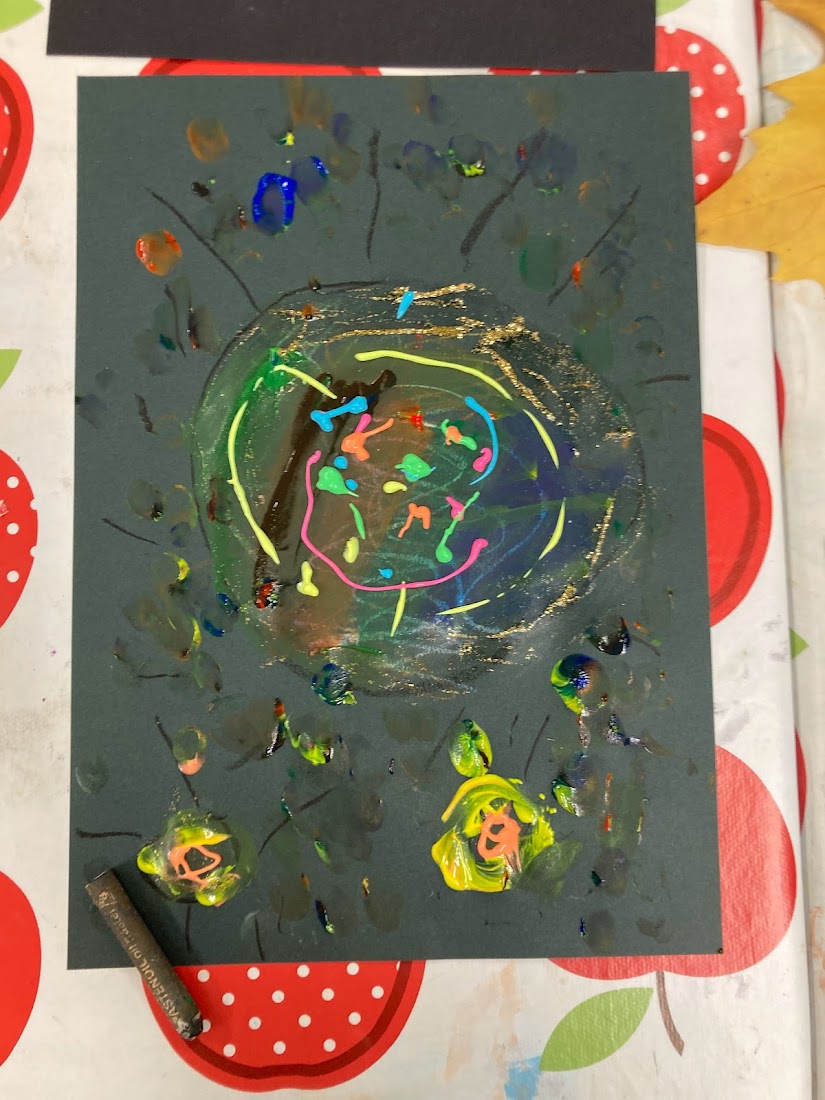
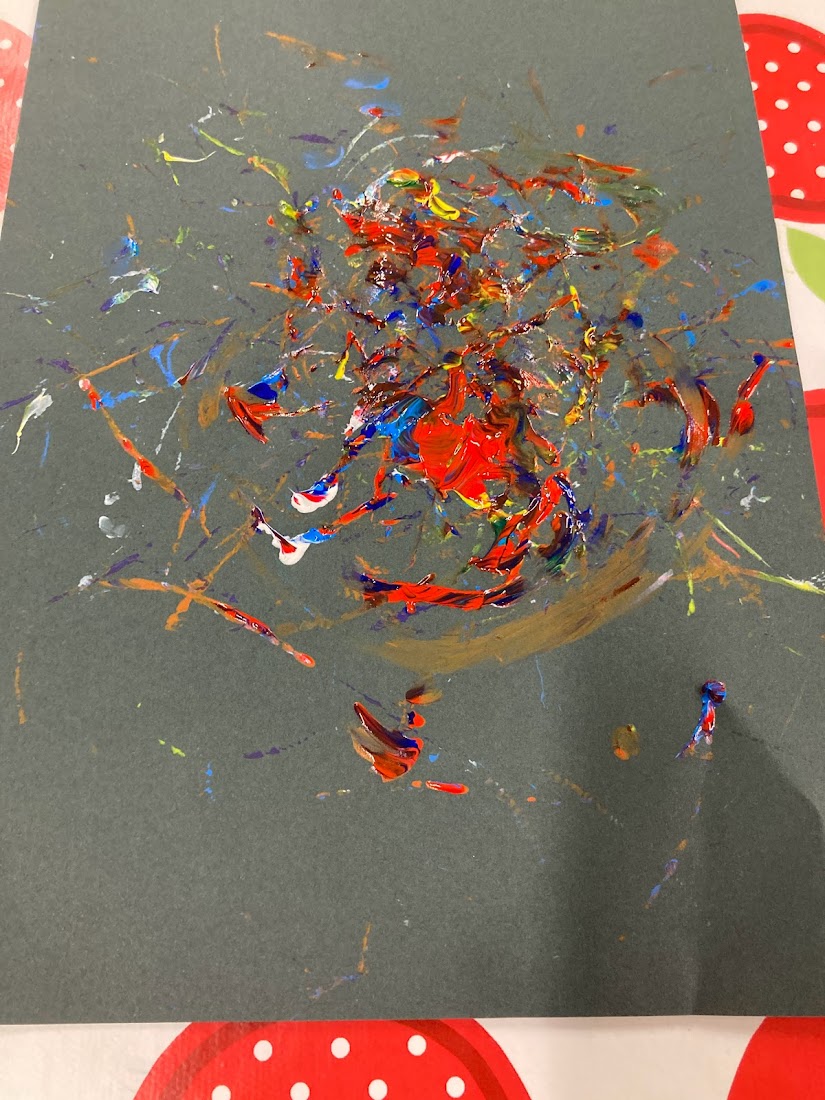
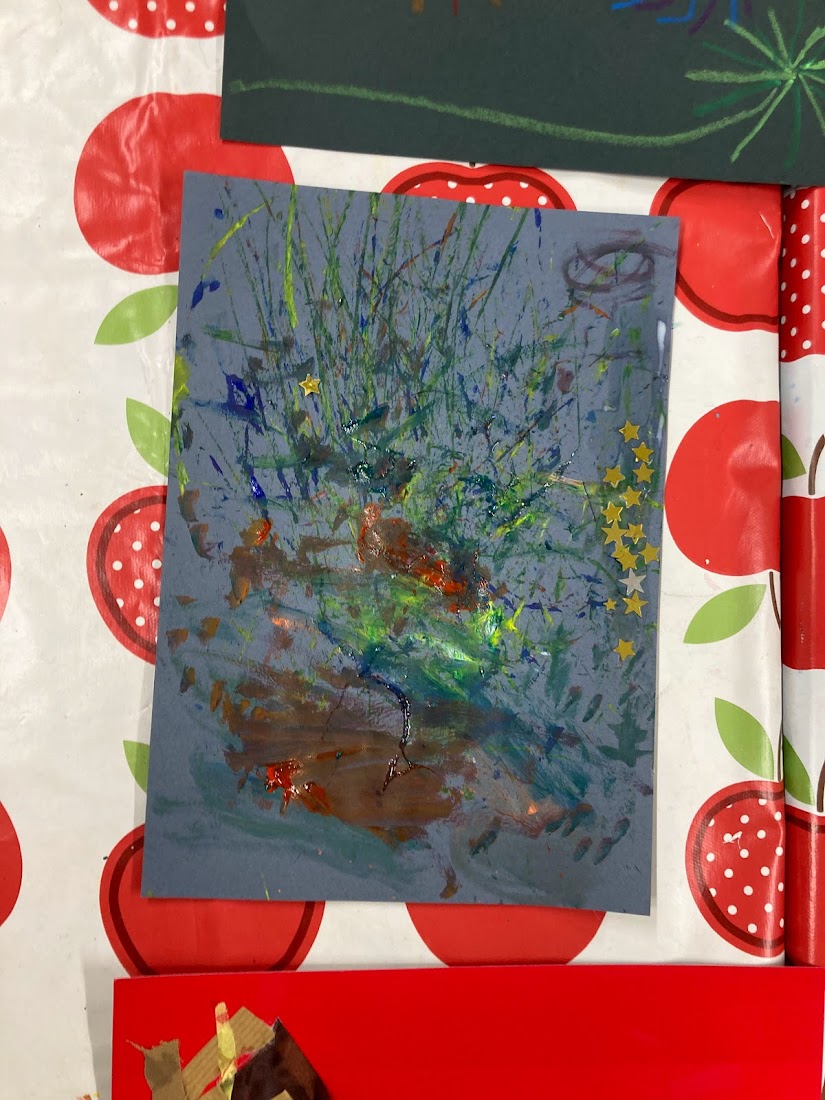
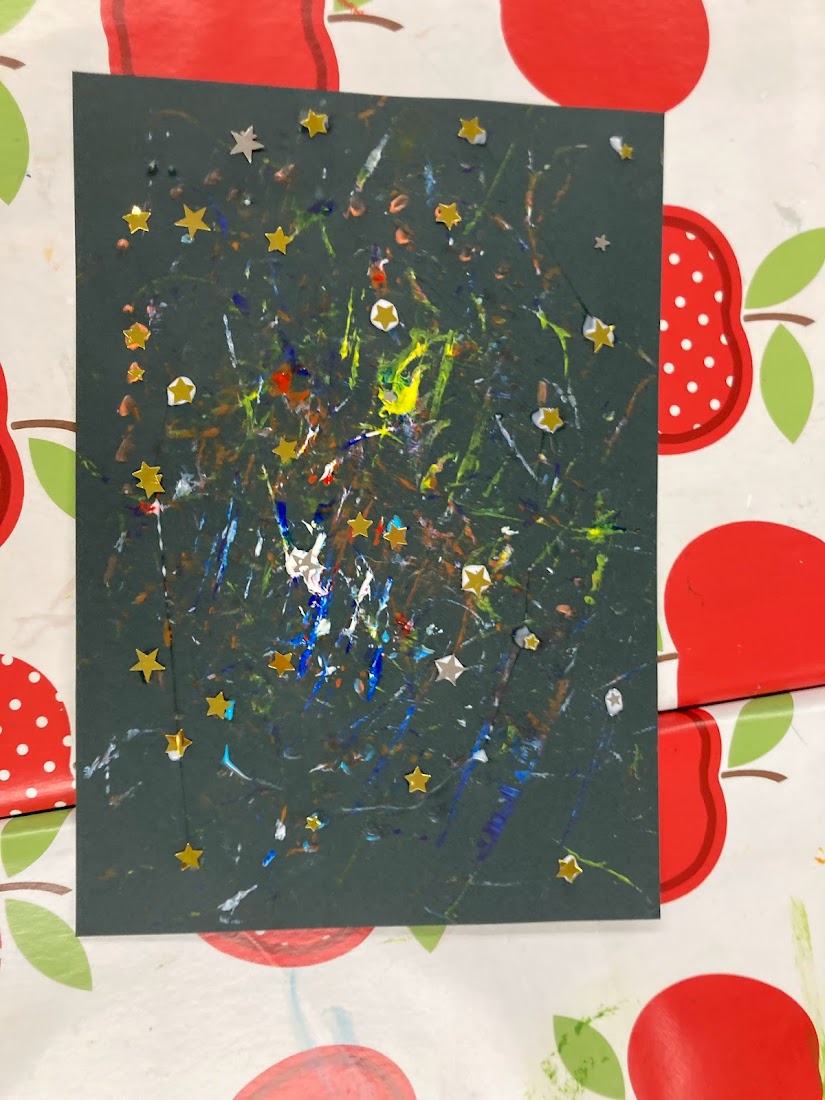
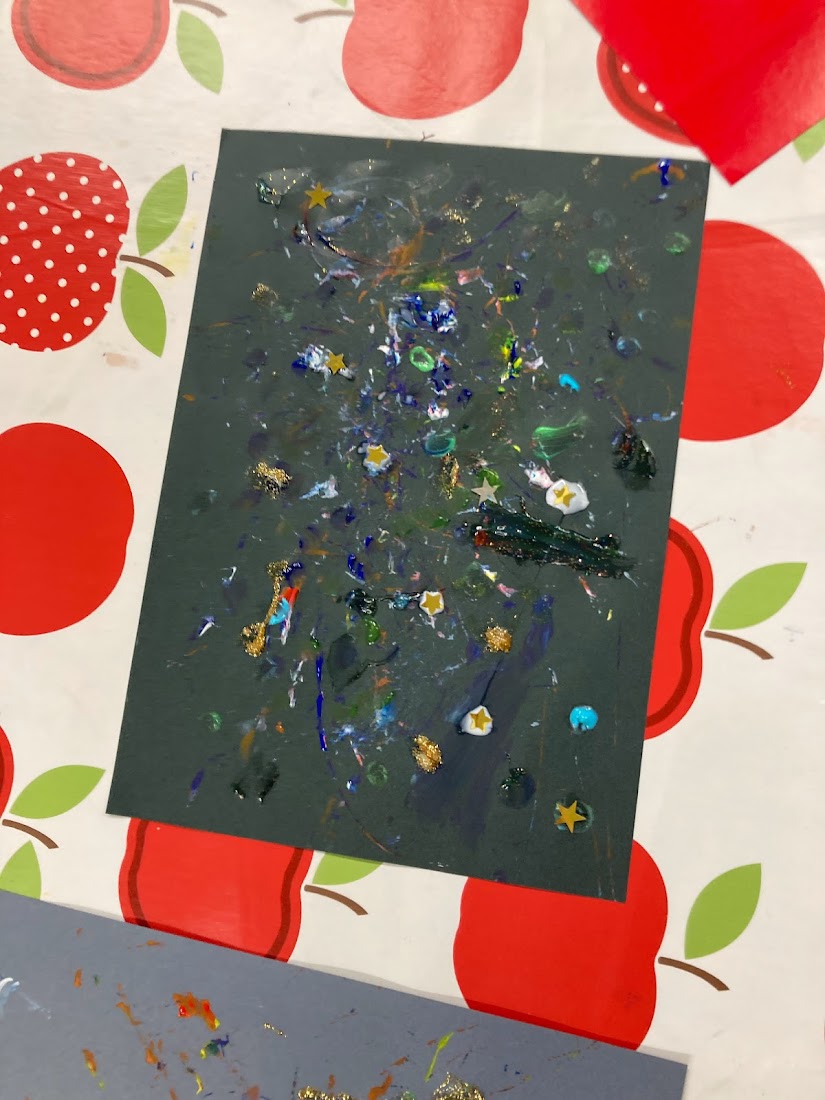
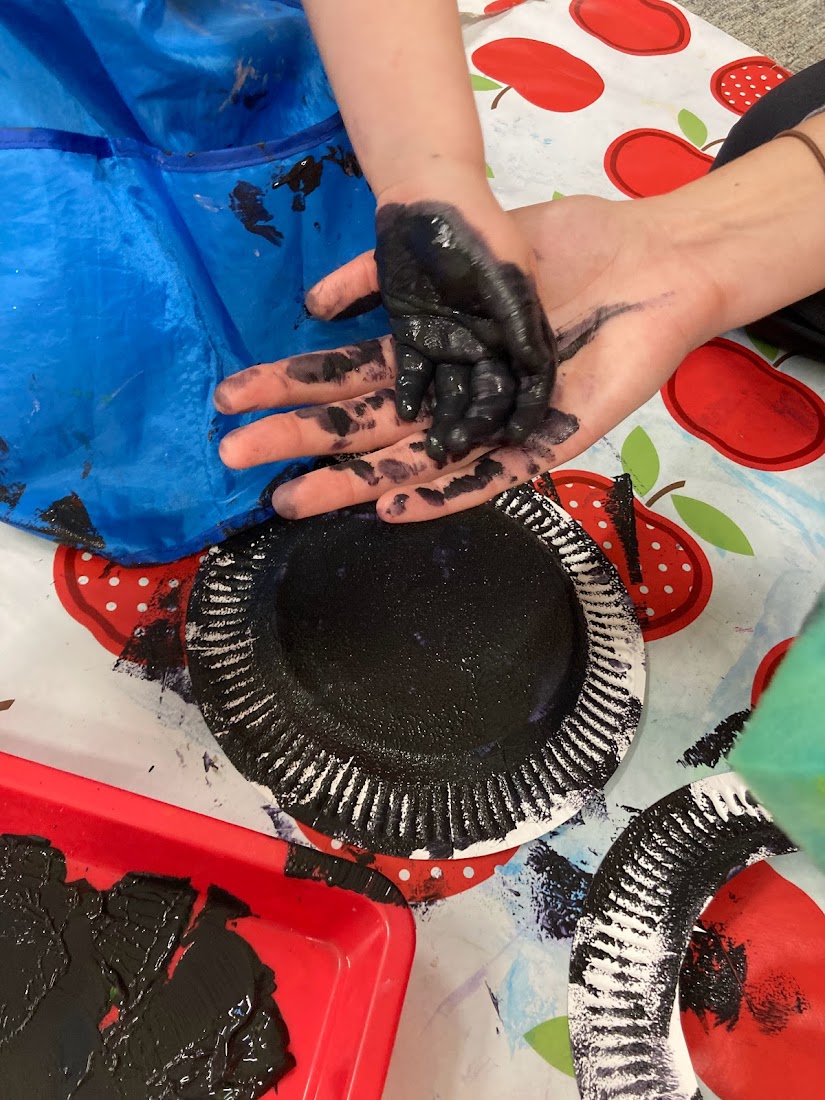
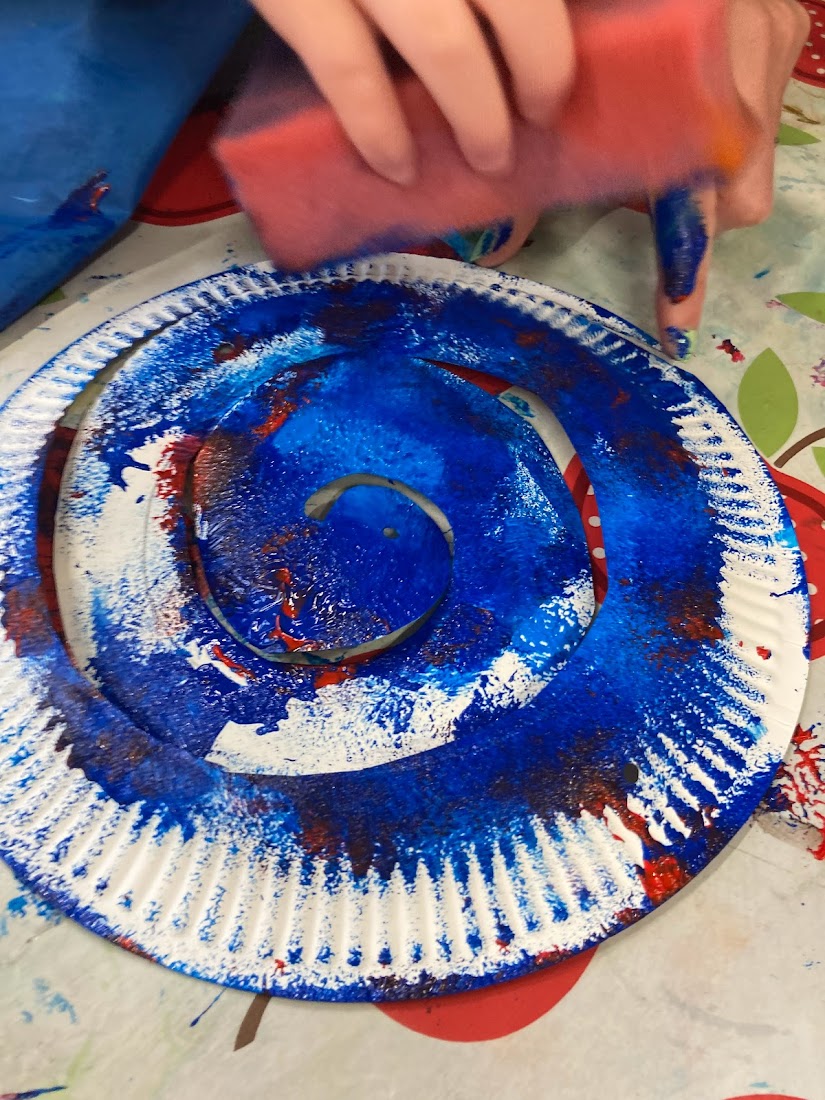
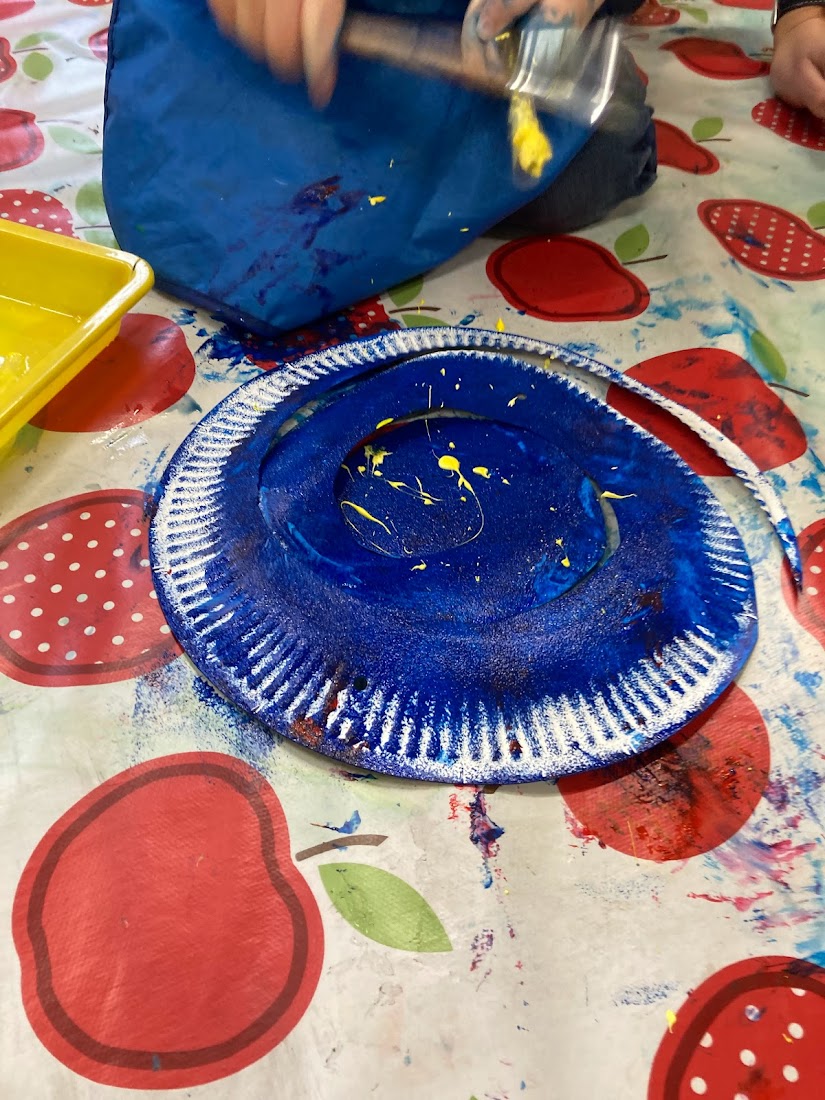
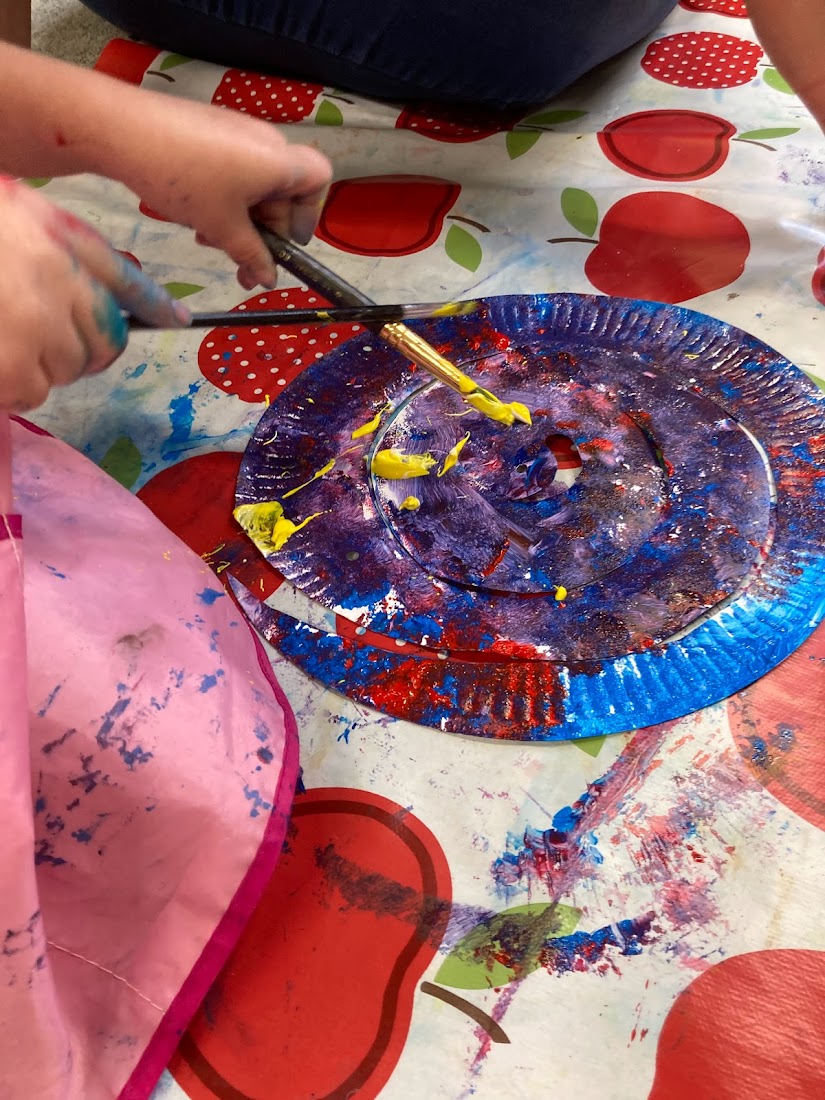
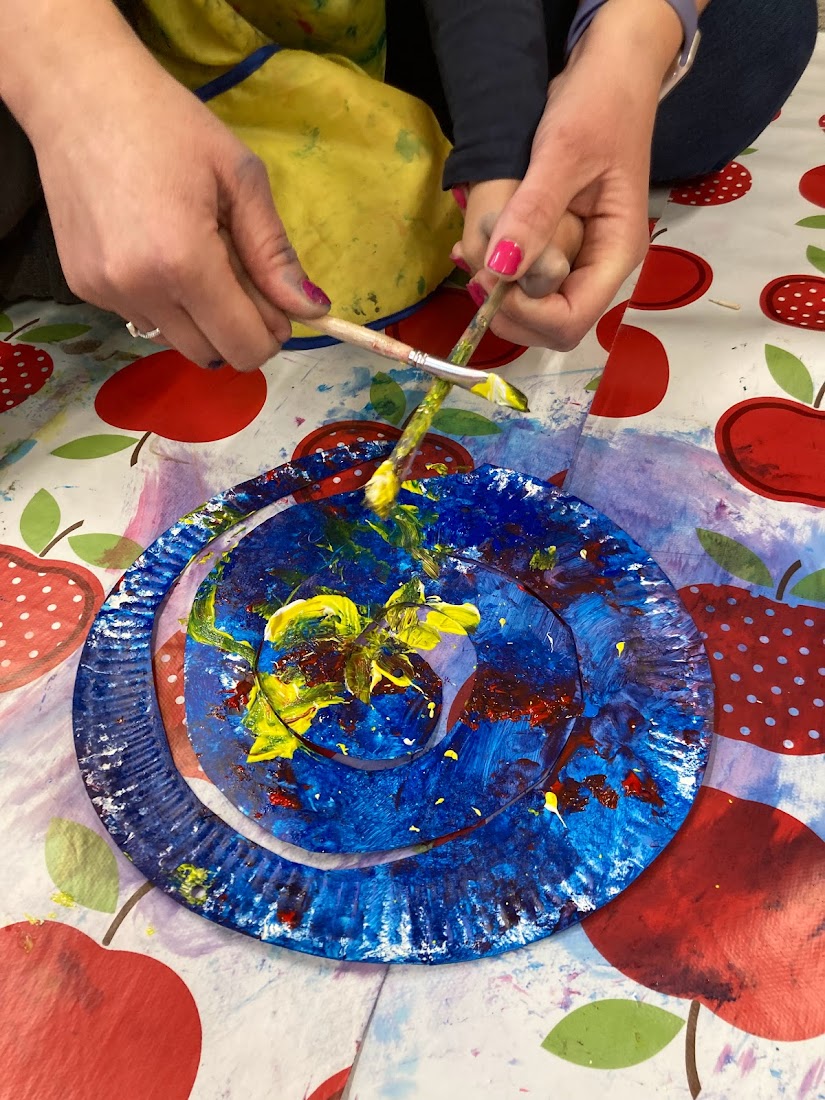
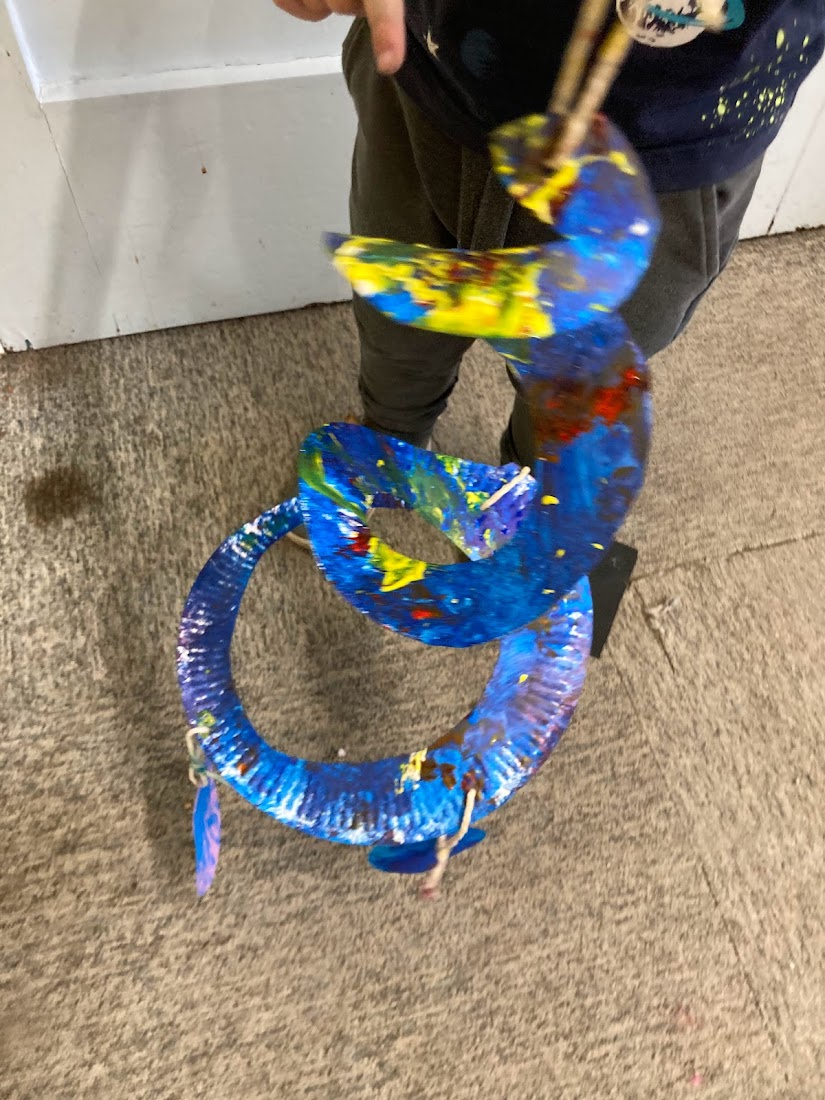
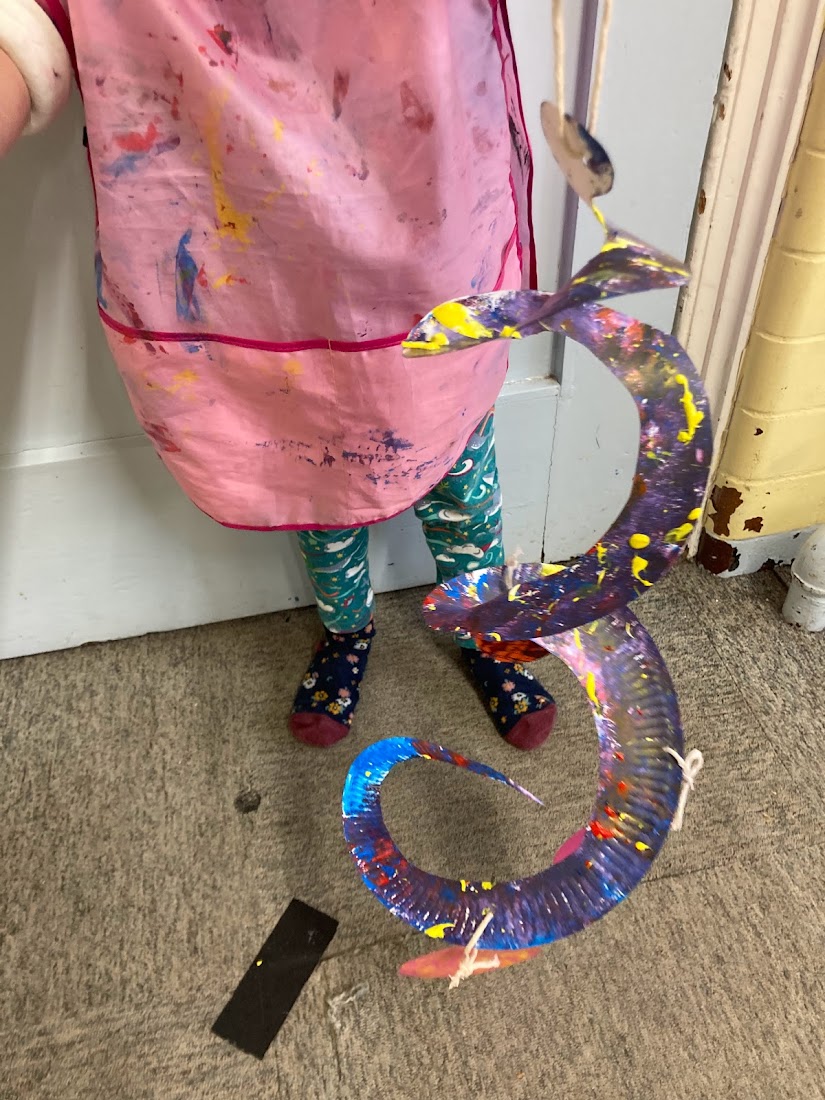
This week we had lots of fun sponge painting some paper plates cut into a spiral. The blue and red paint was squirted directly onto the plate and the toddlers used their sponges to spread it, they enjoyed mixing the red and blue together on the plate. After they had finished sponge painting the next task was splatter painting stars! Everybody loved trying out platter painting and one of the children got more paint on their parent than on their solar system!
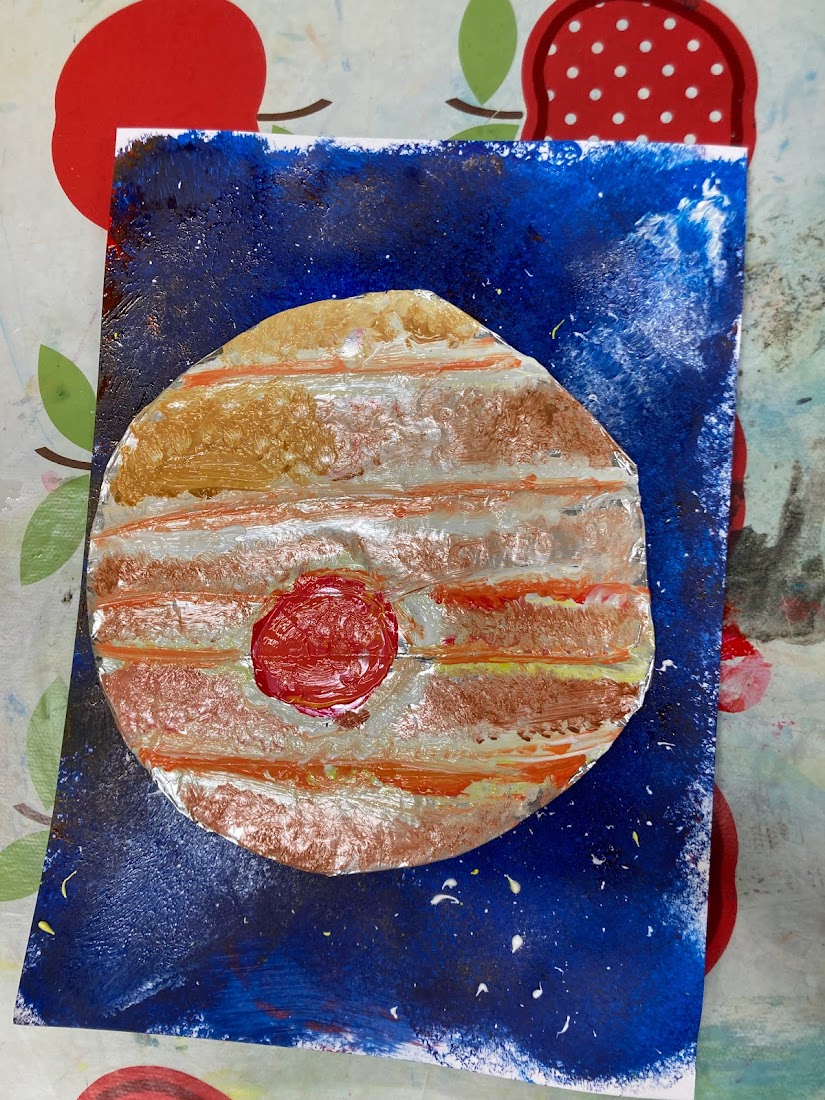
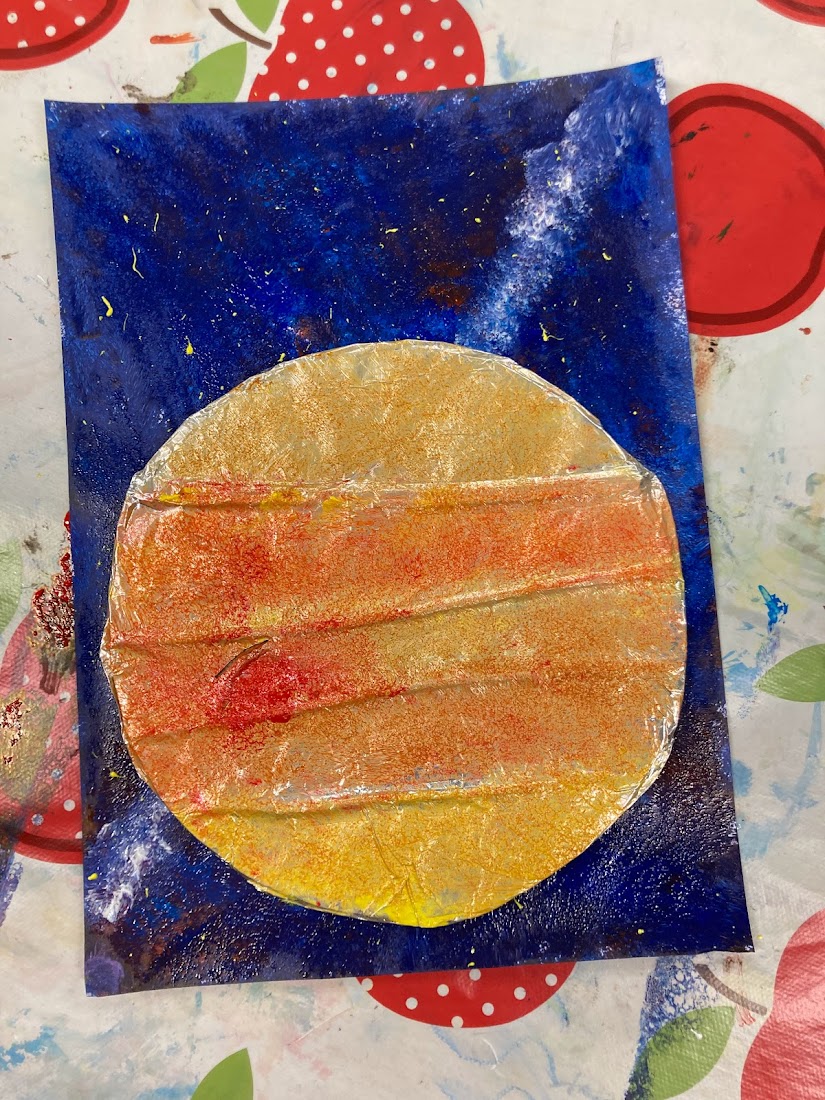
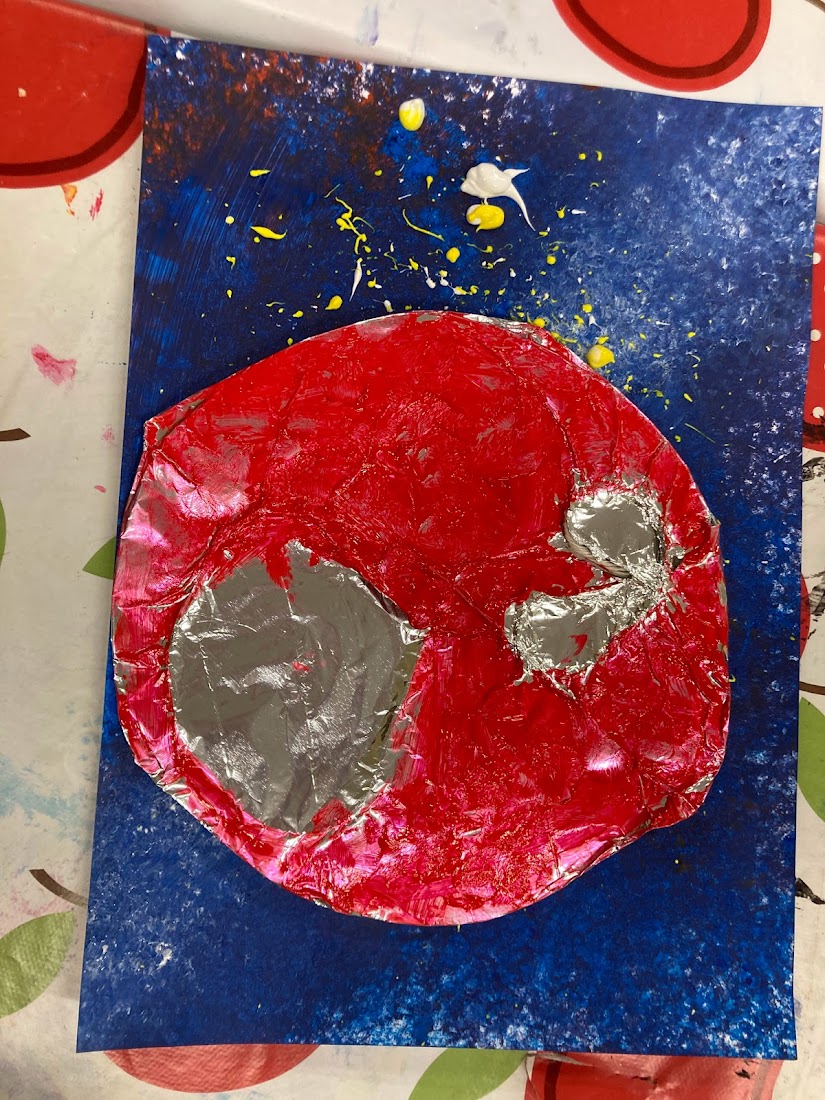
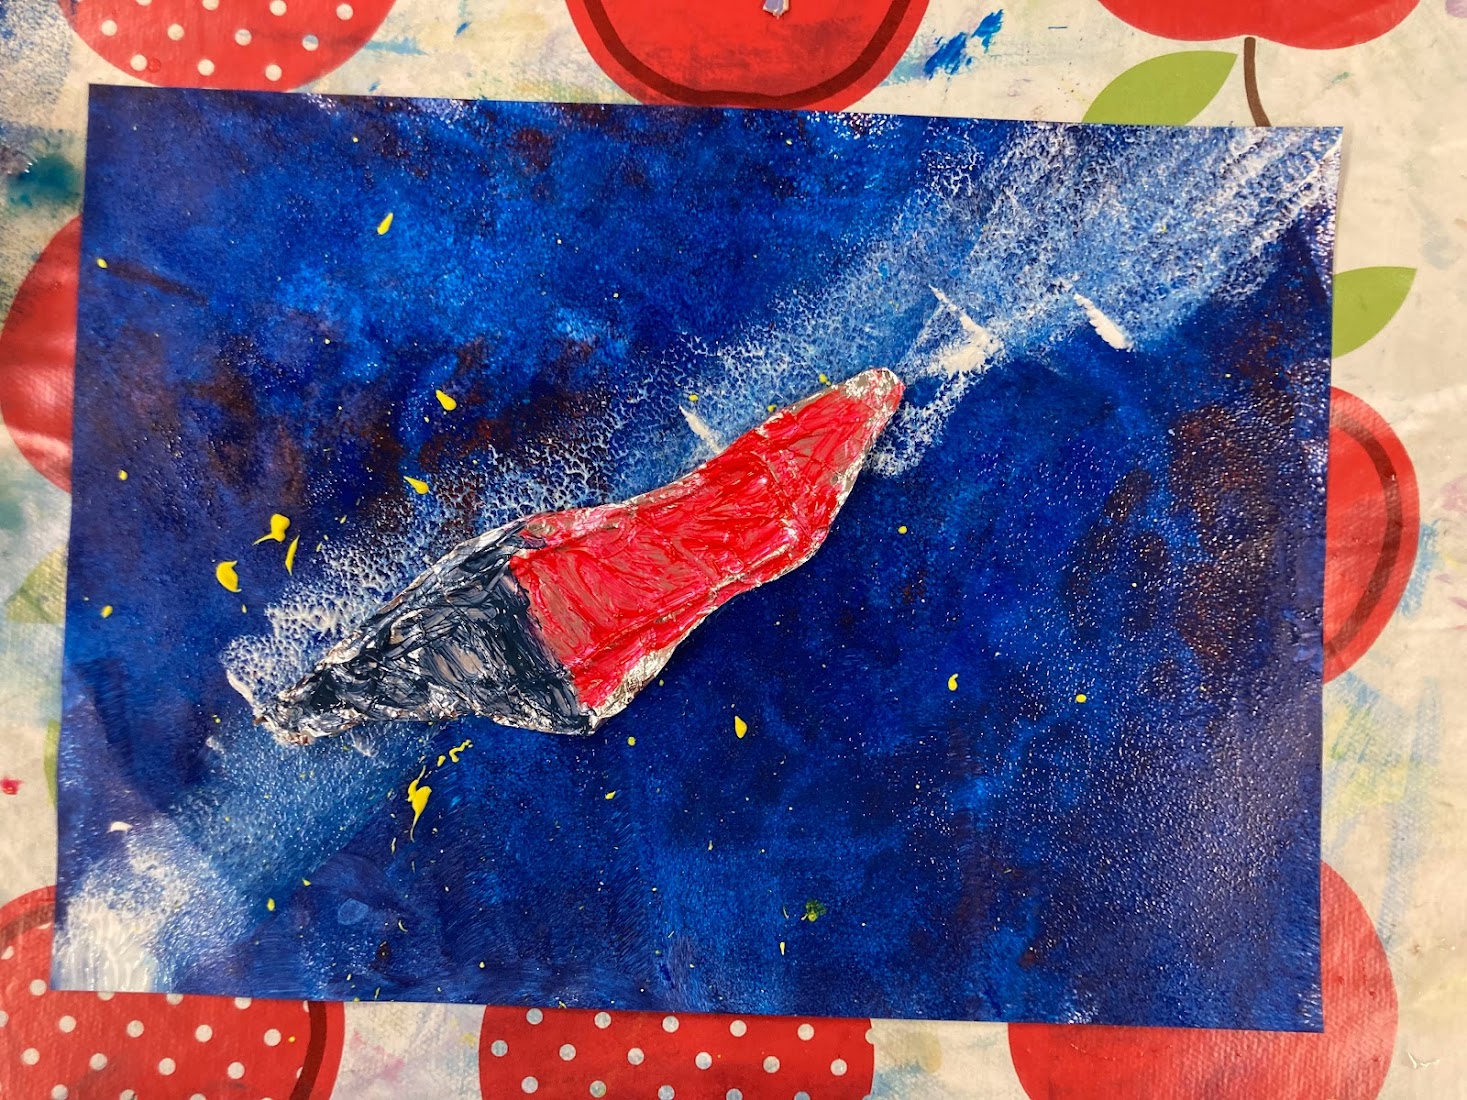
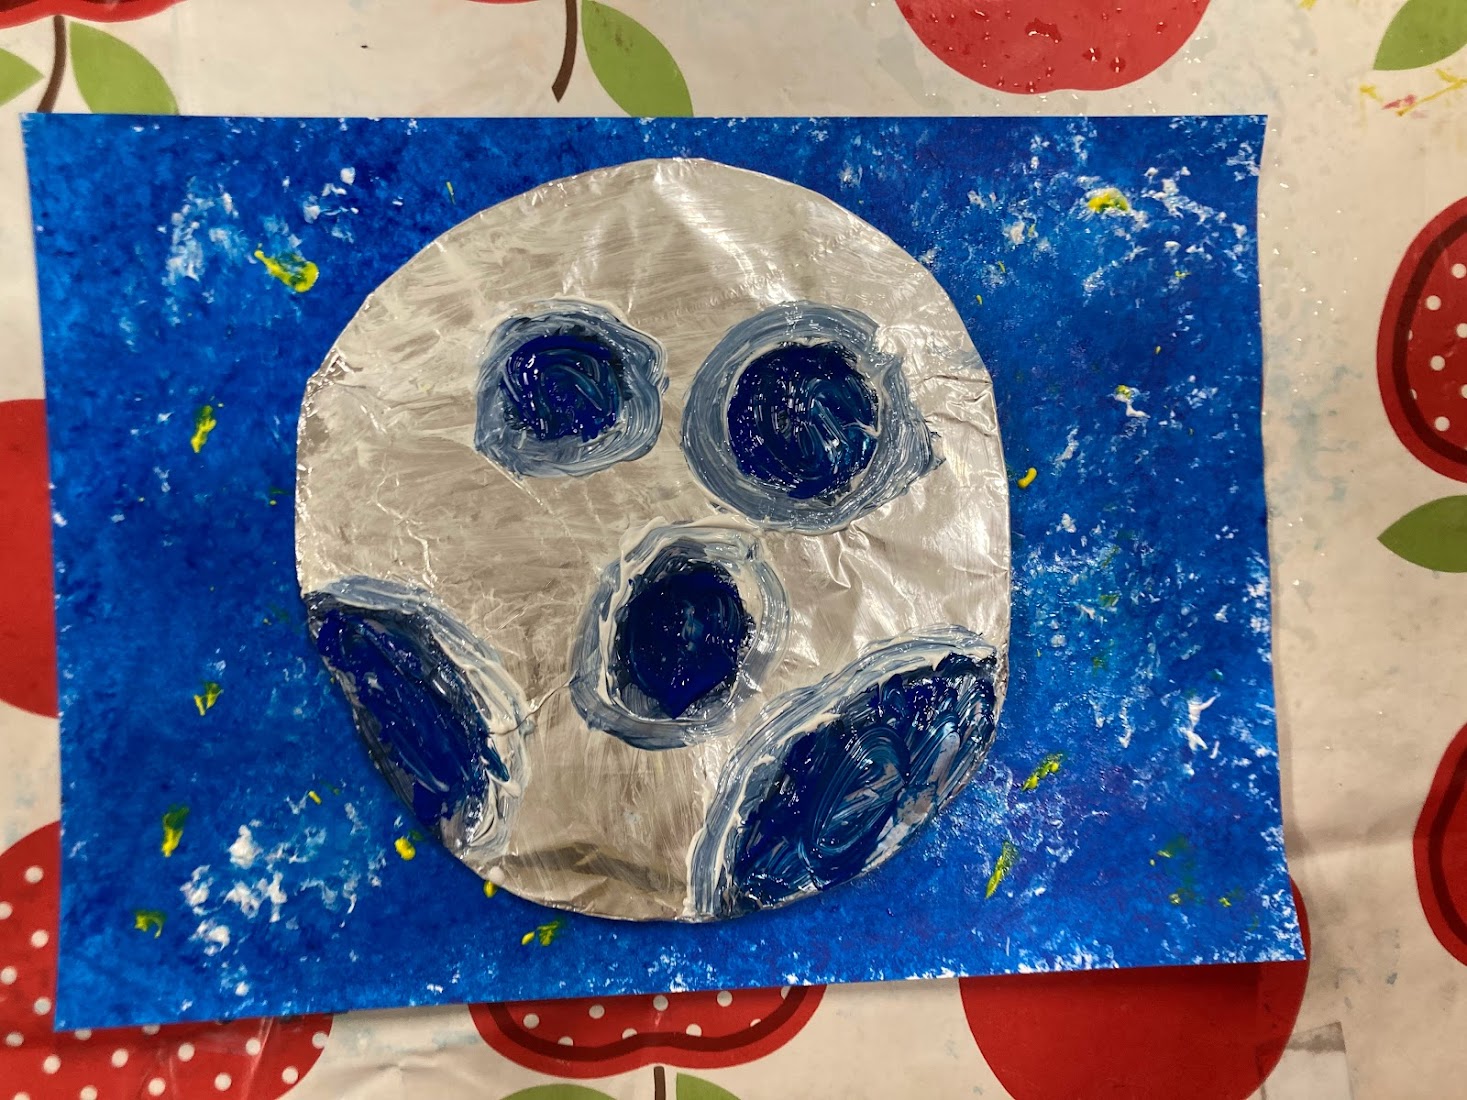
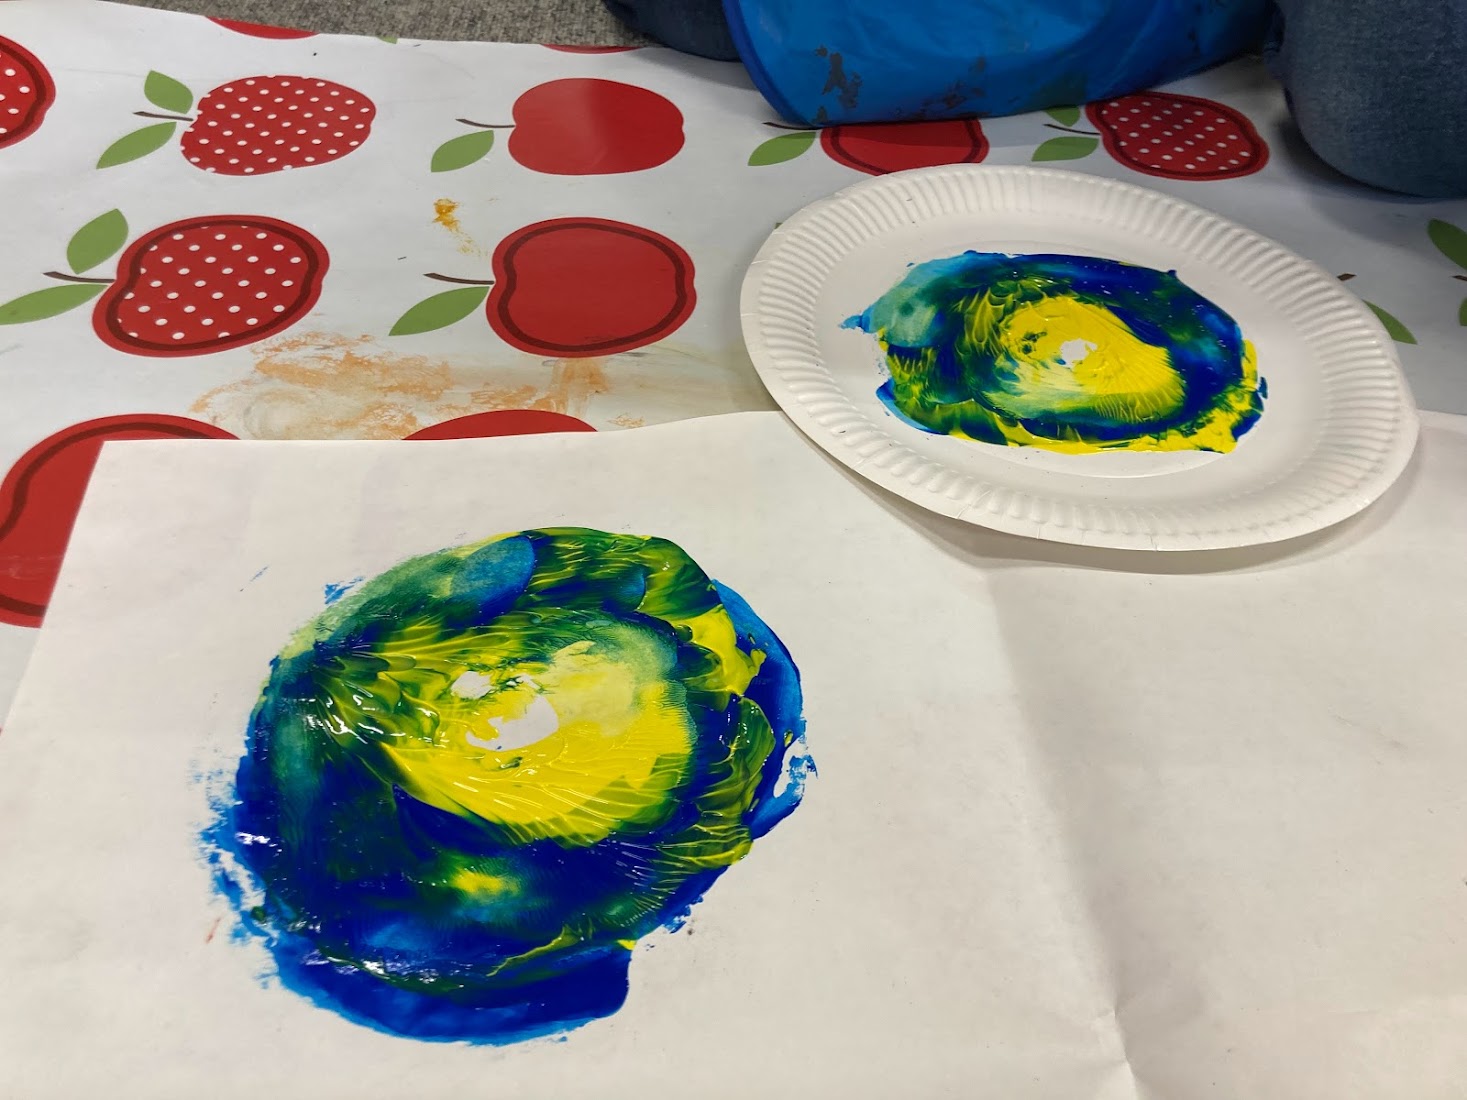
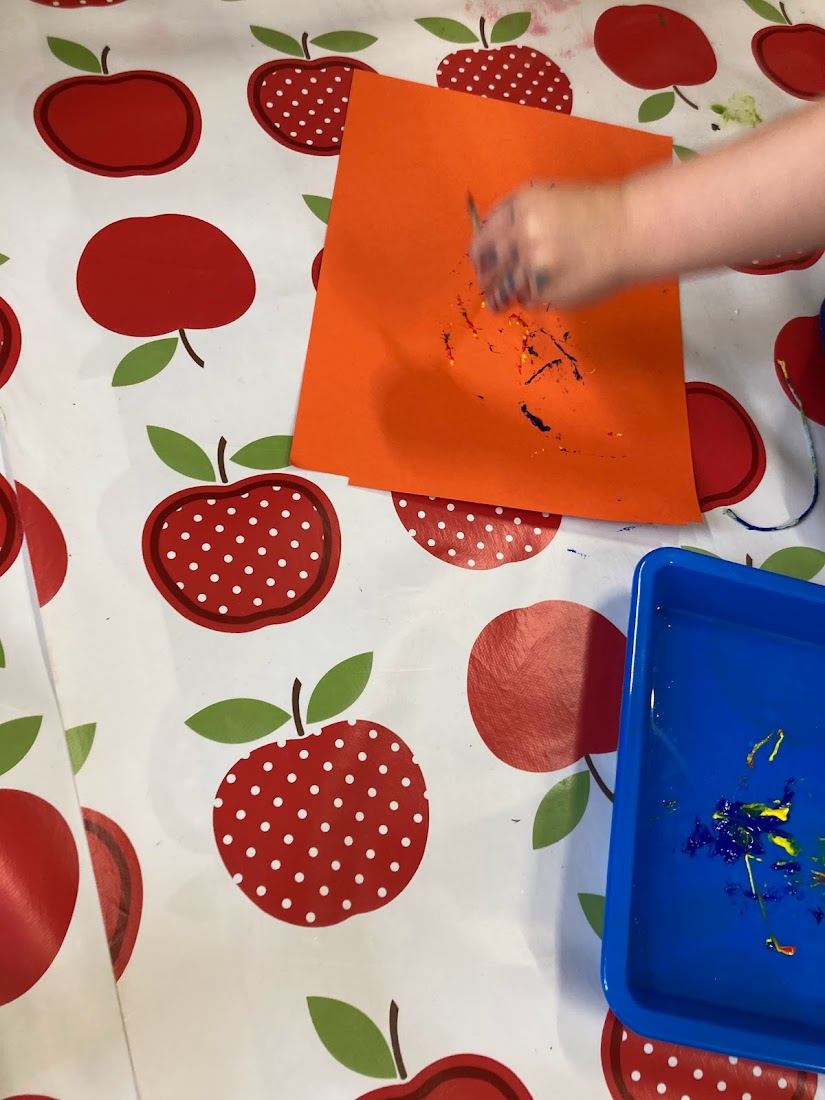
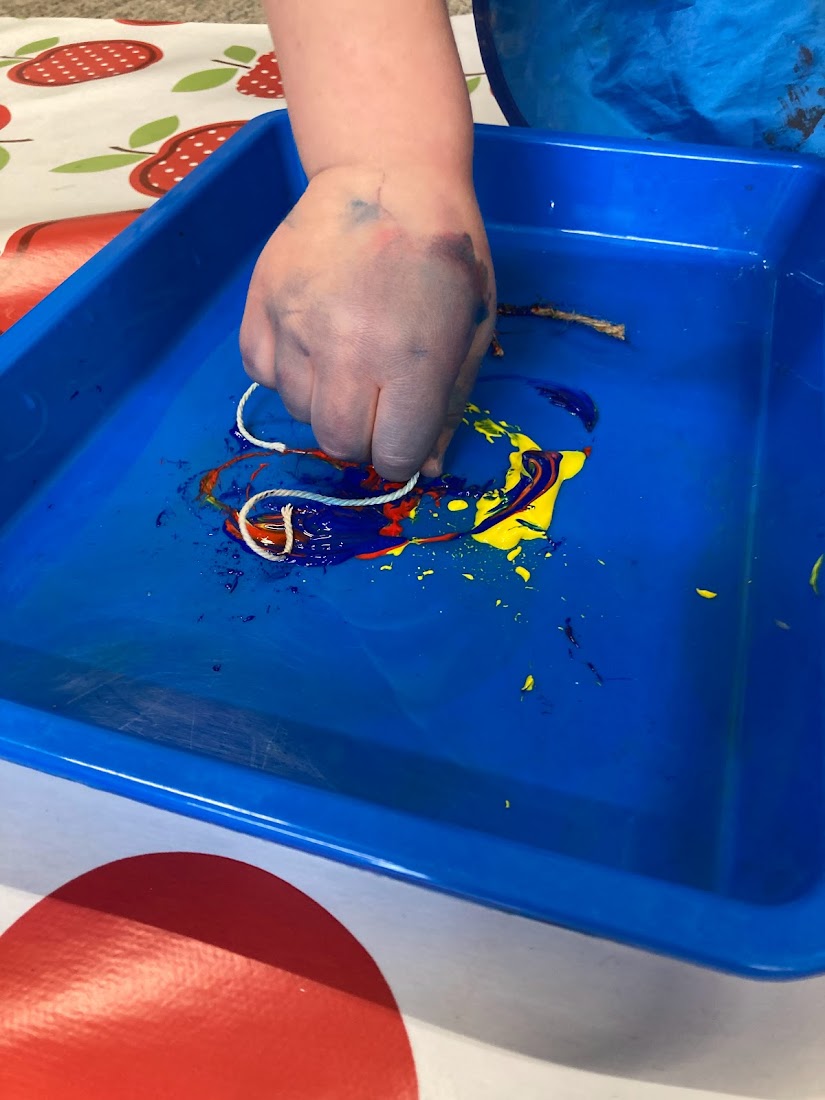
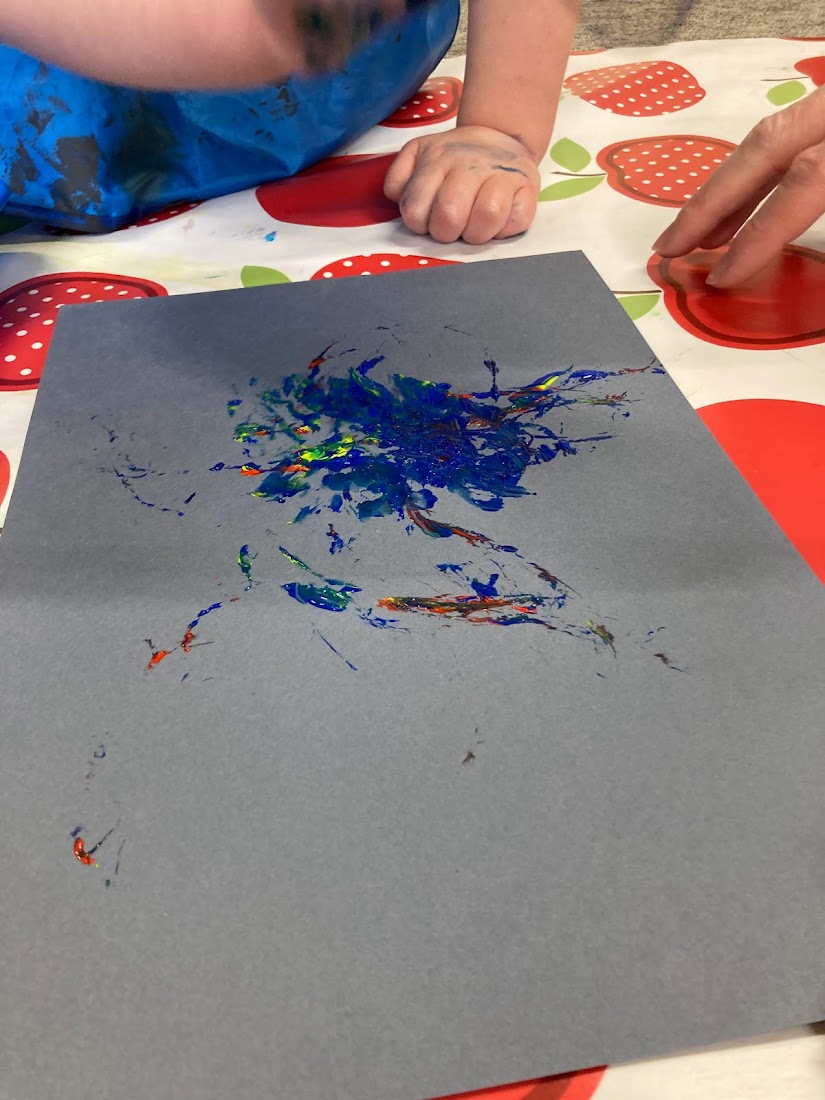
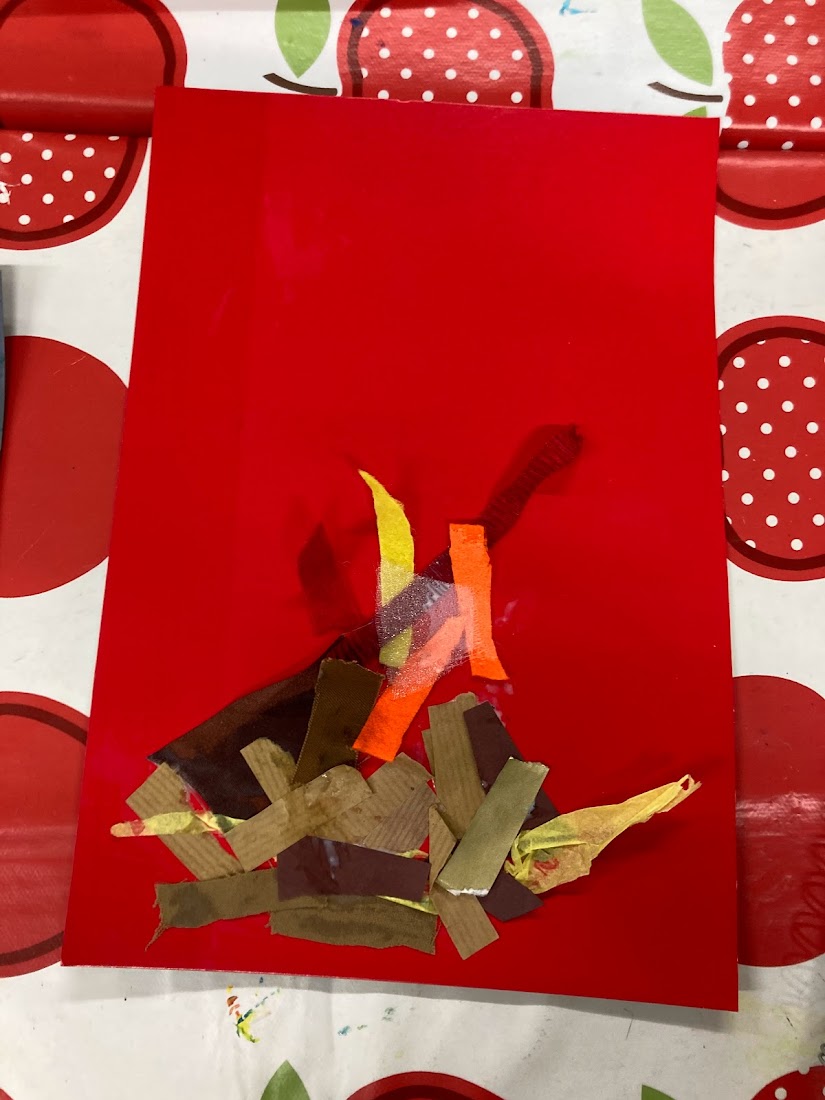
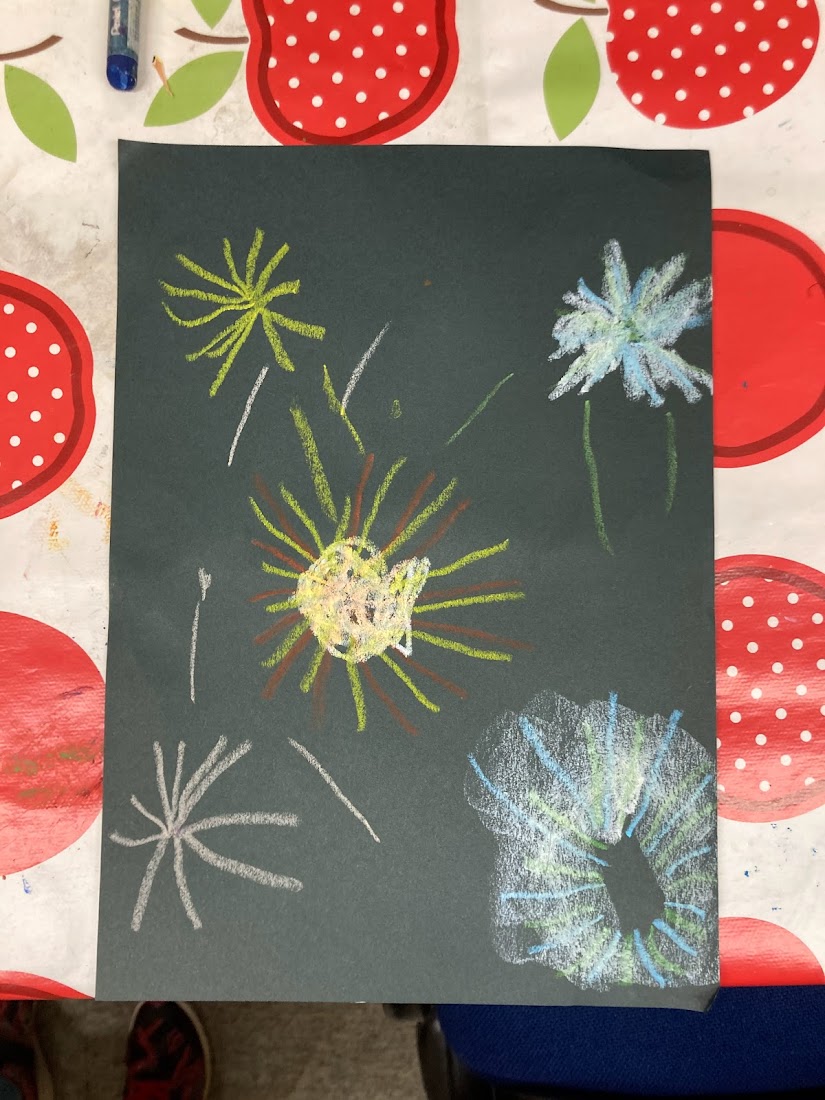
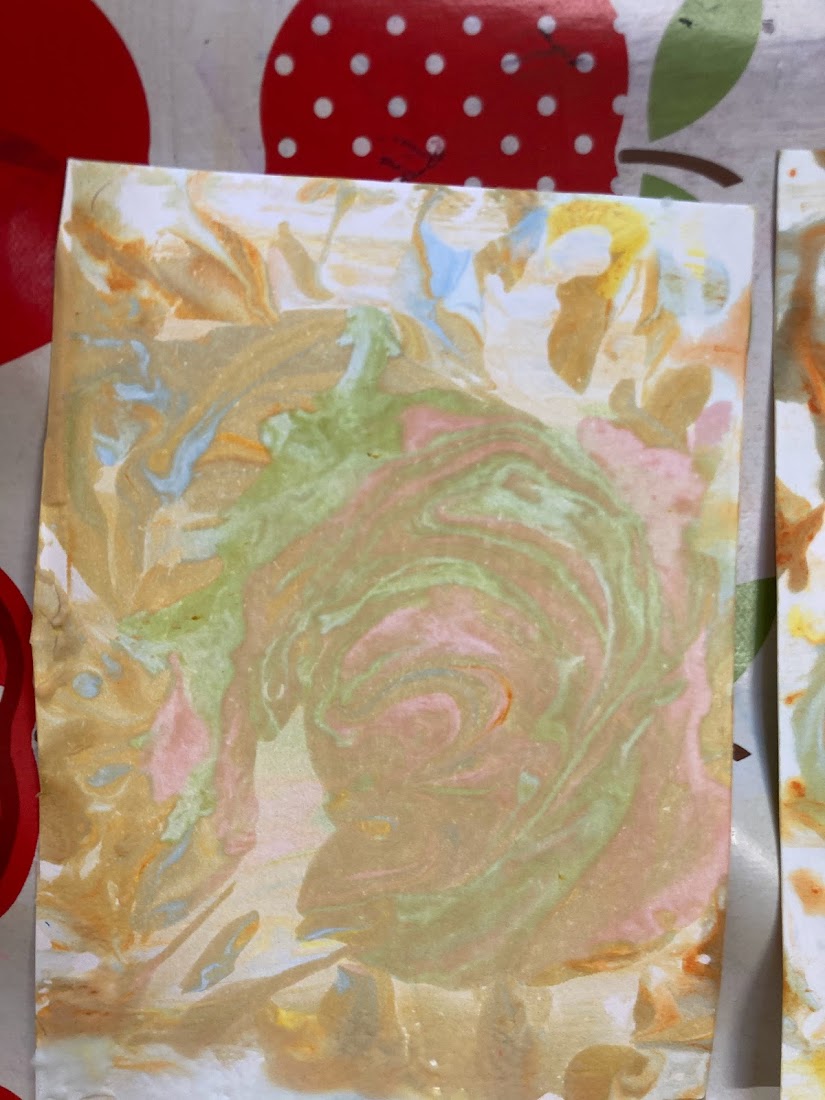
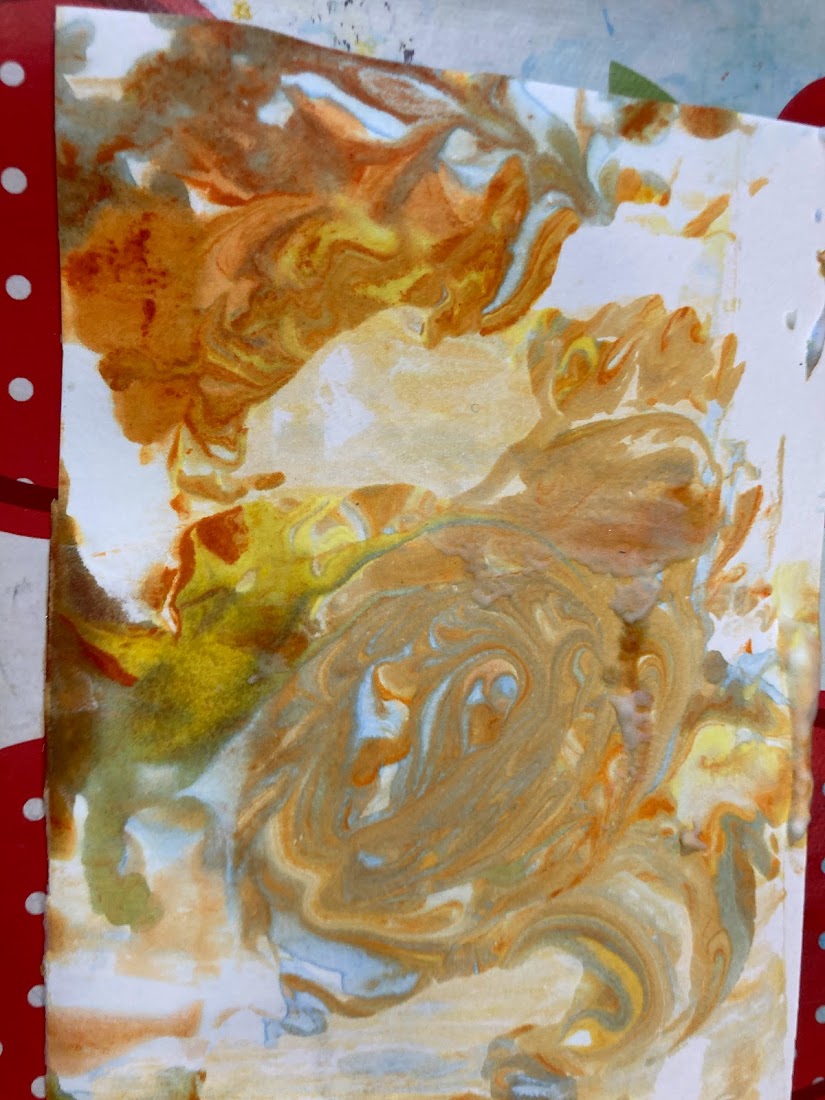
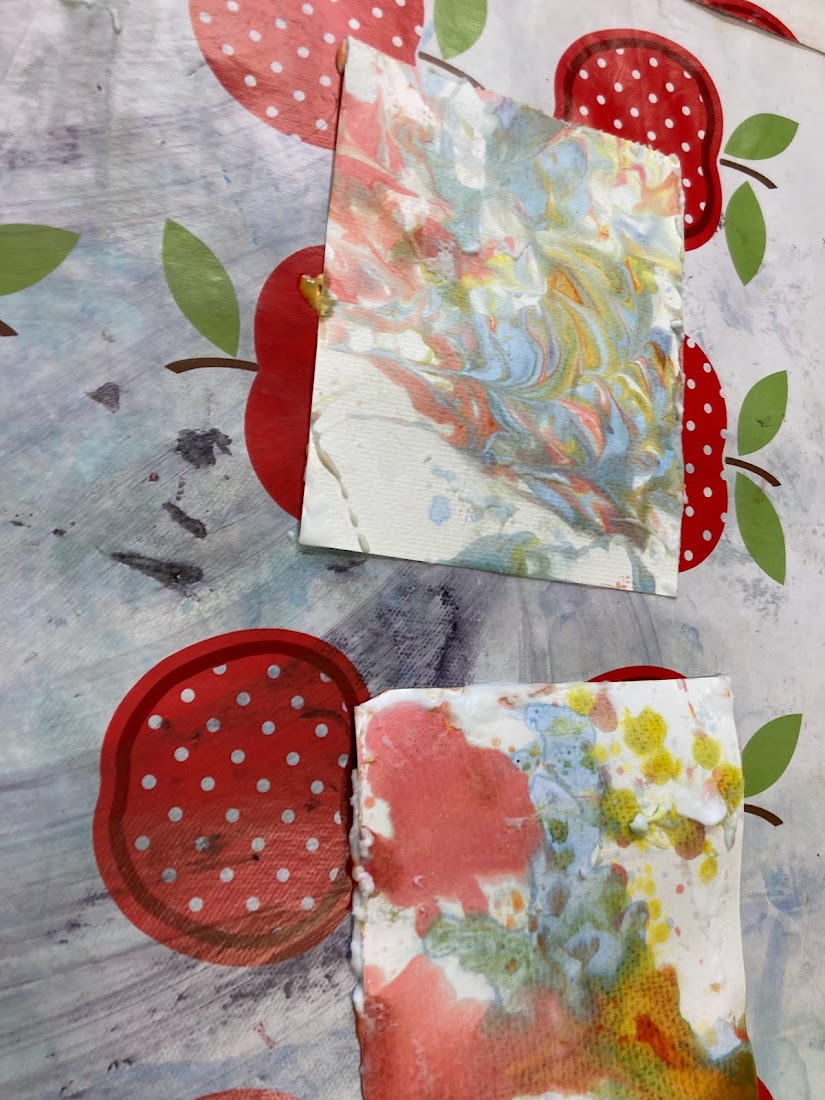
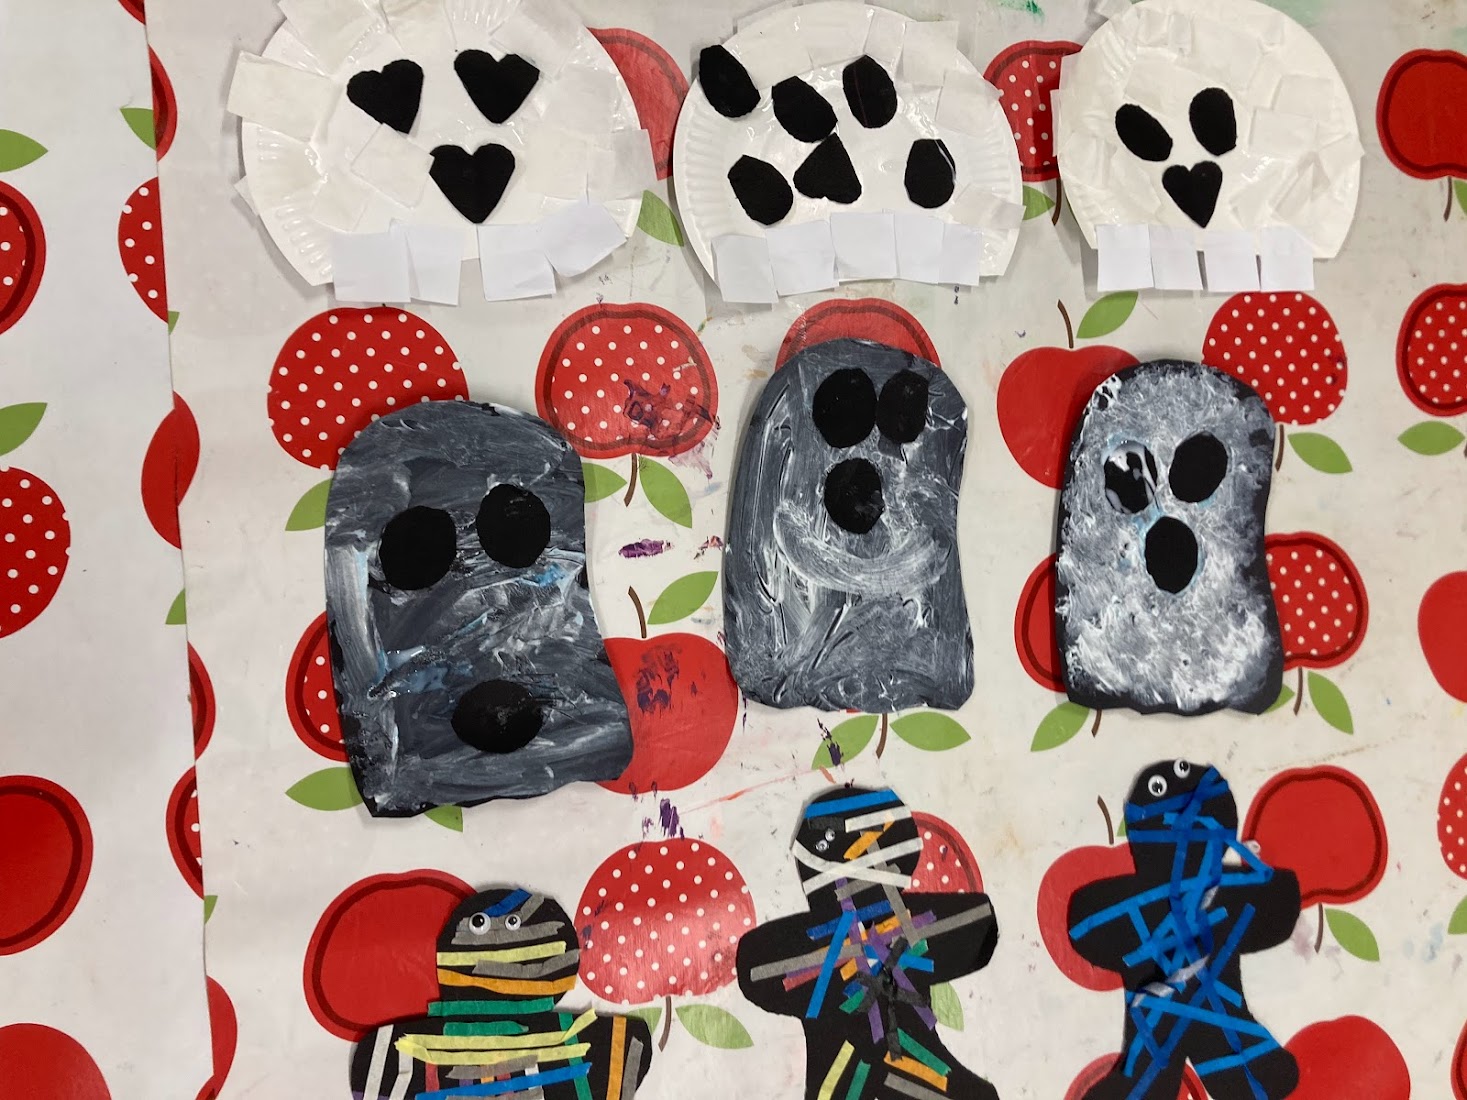
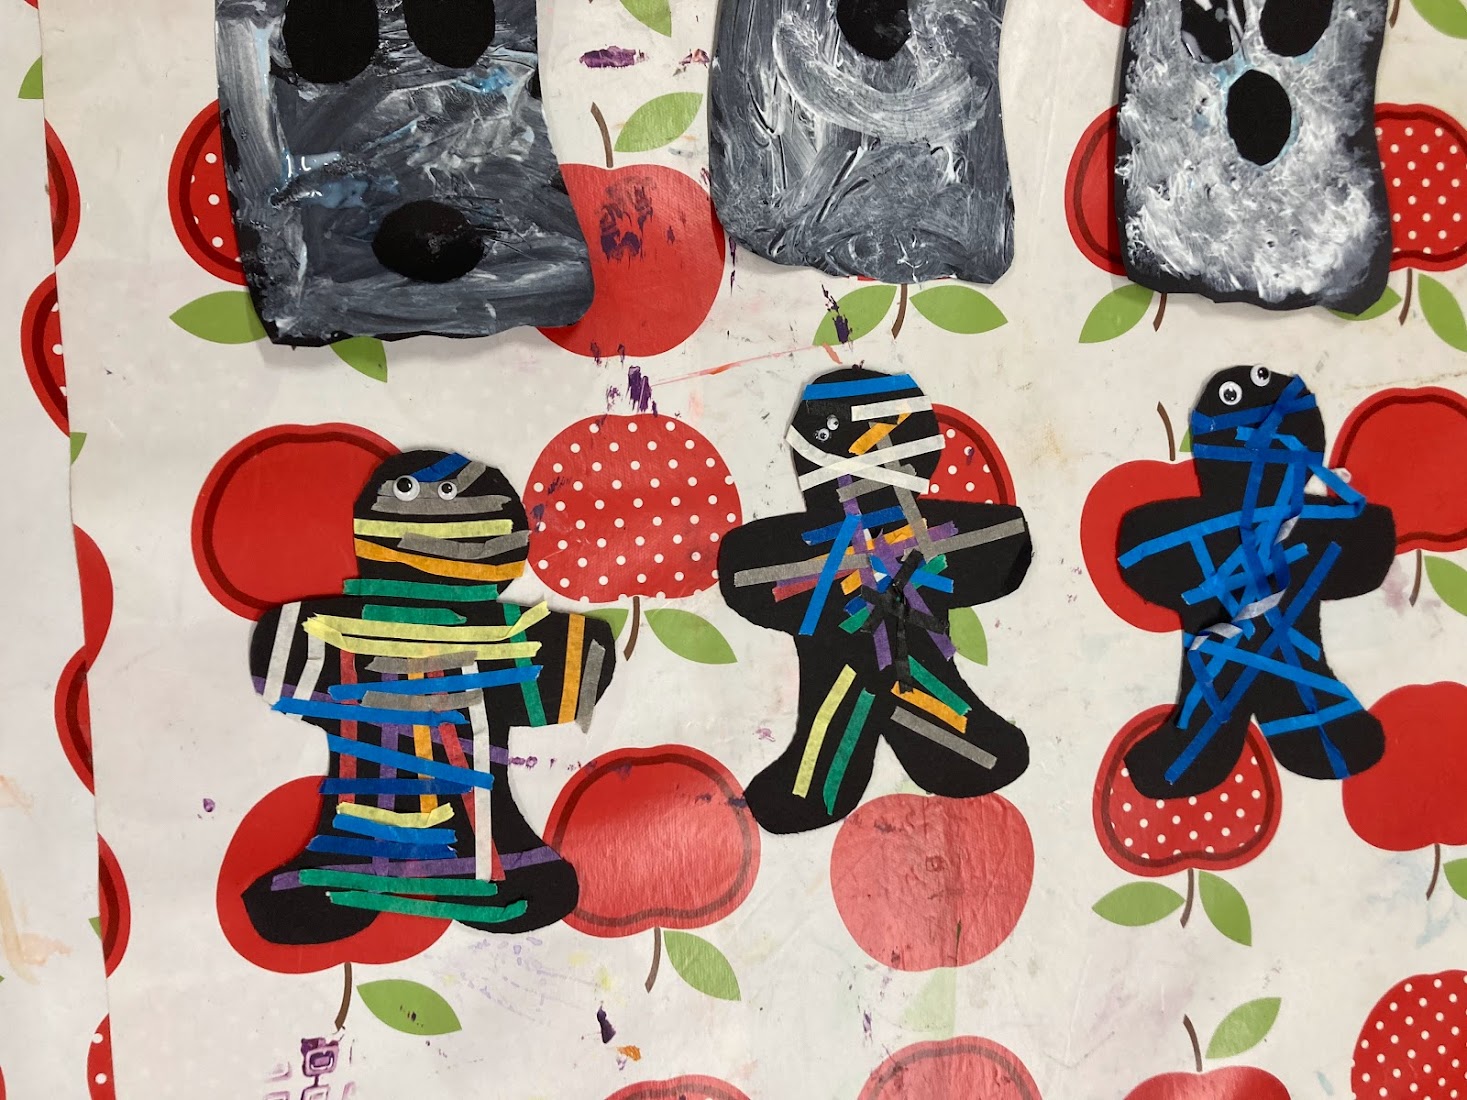
We left our paper plates to dry whilst we chose some different coloured paper circles to try different ways of making prints, we had string, bubble wrap, scrunched up foil and cardboard to try.

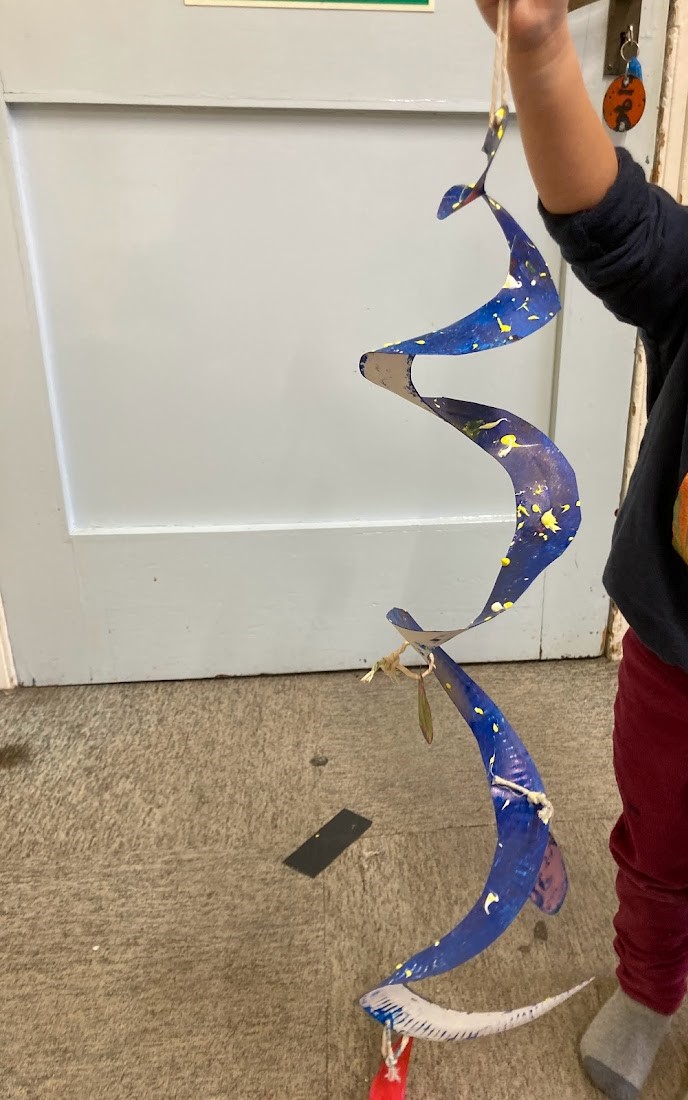
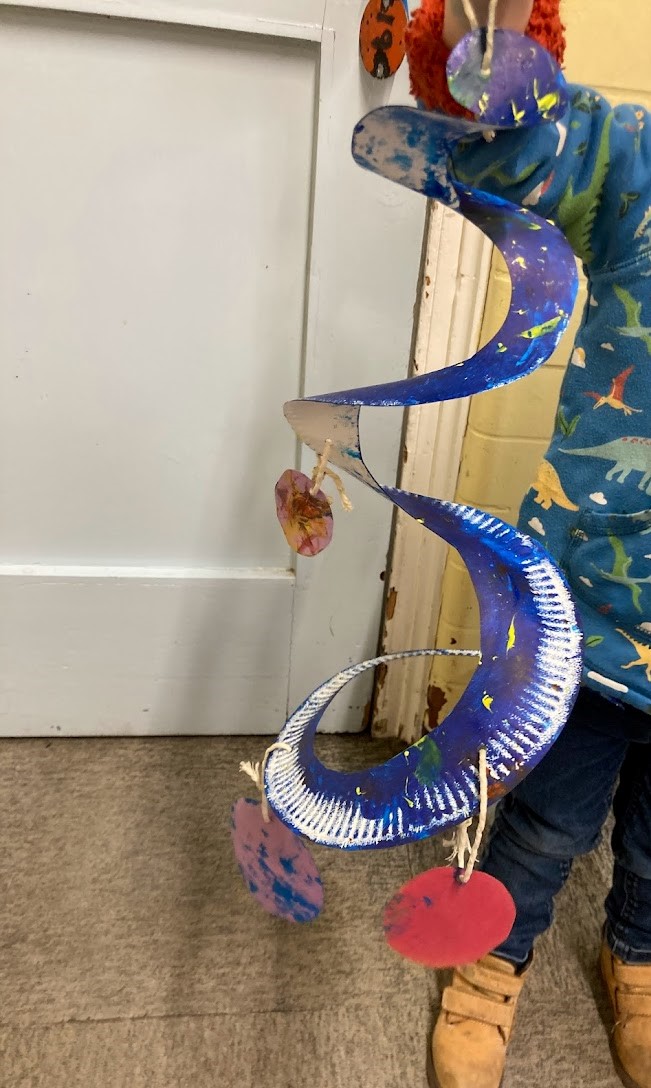
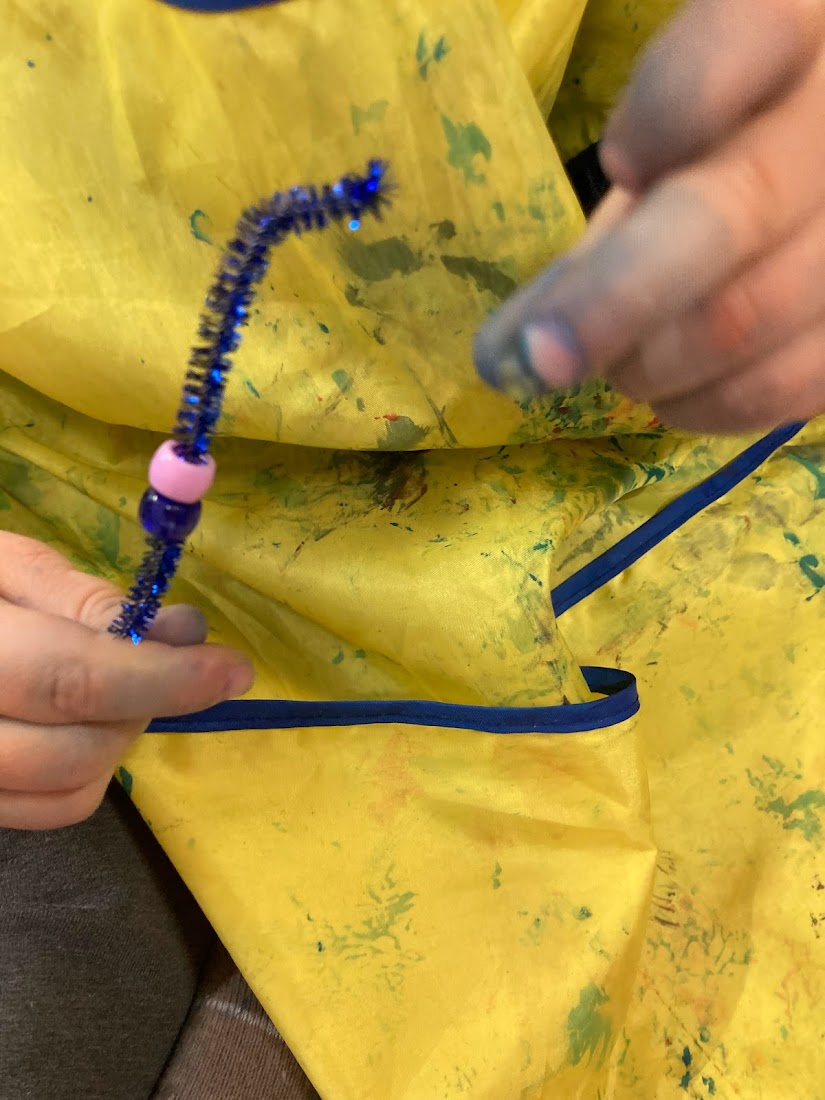
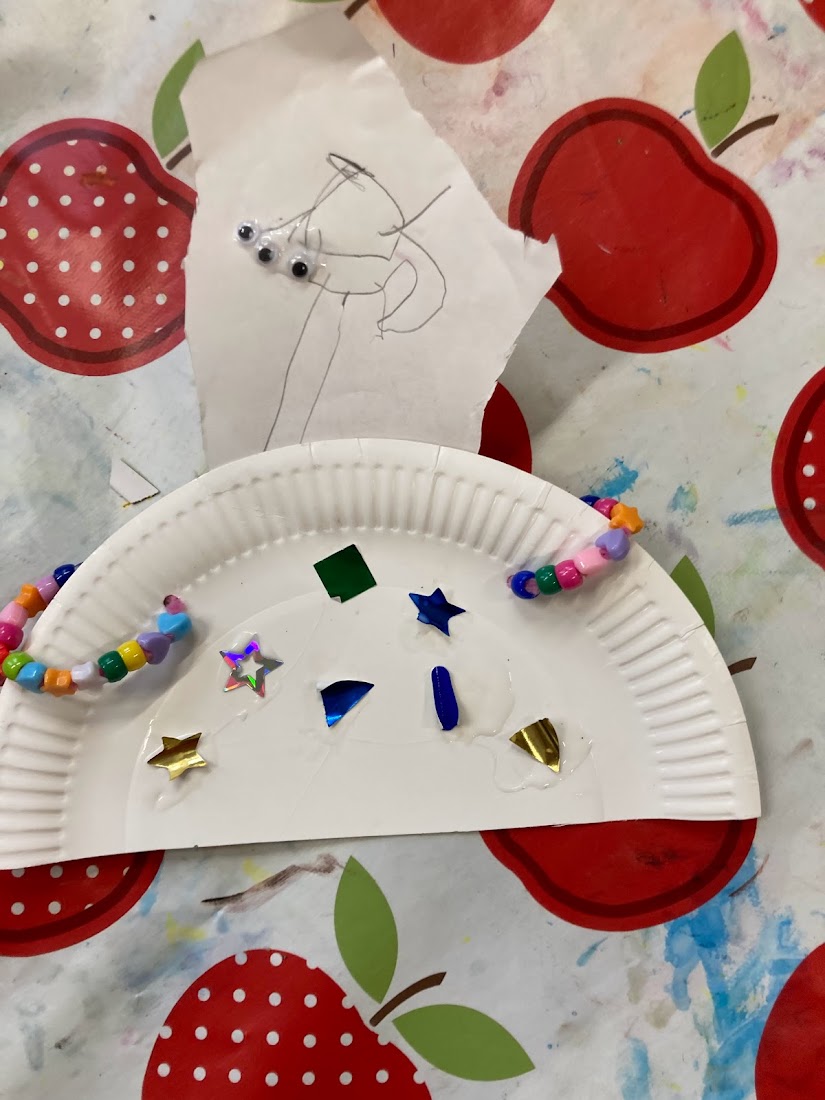
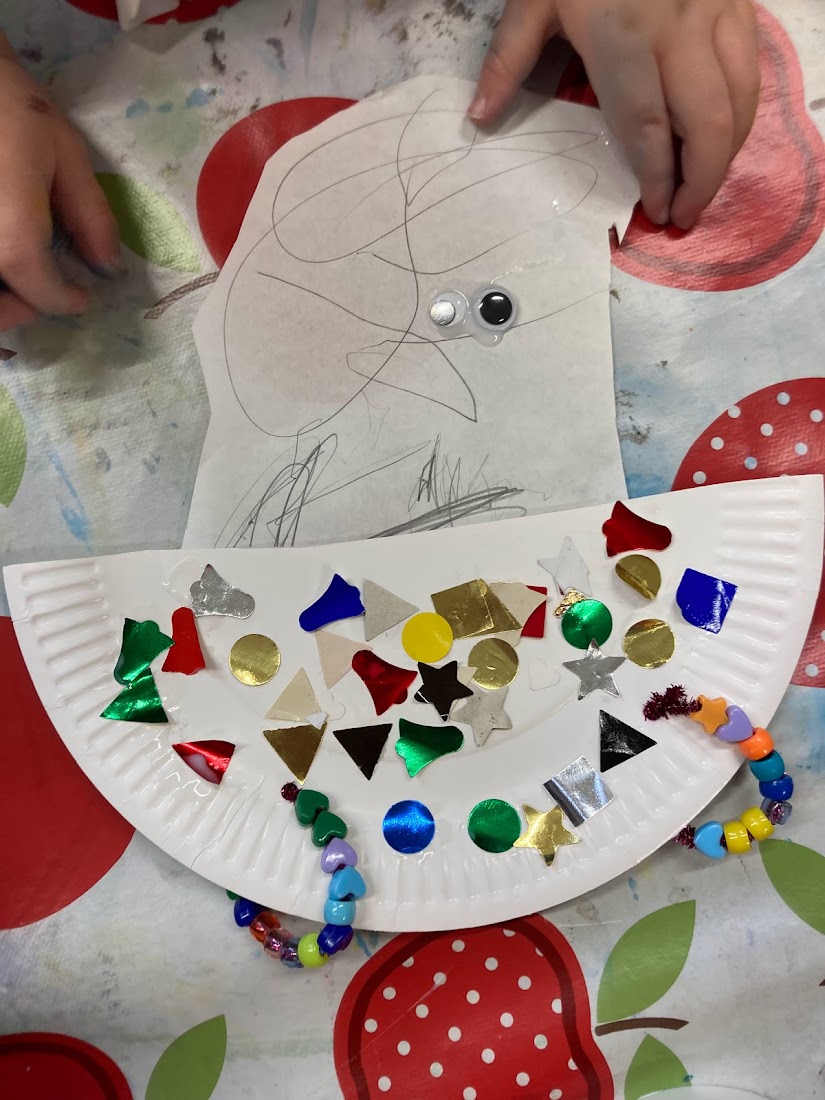
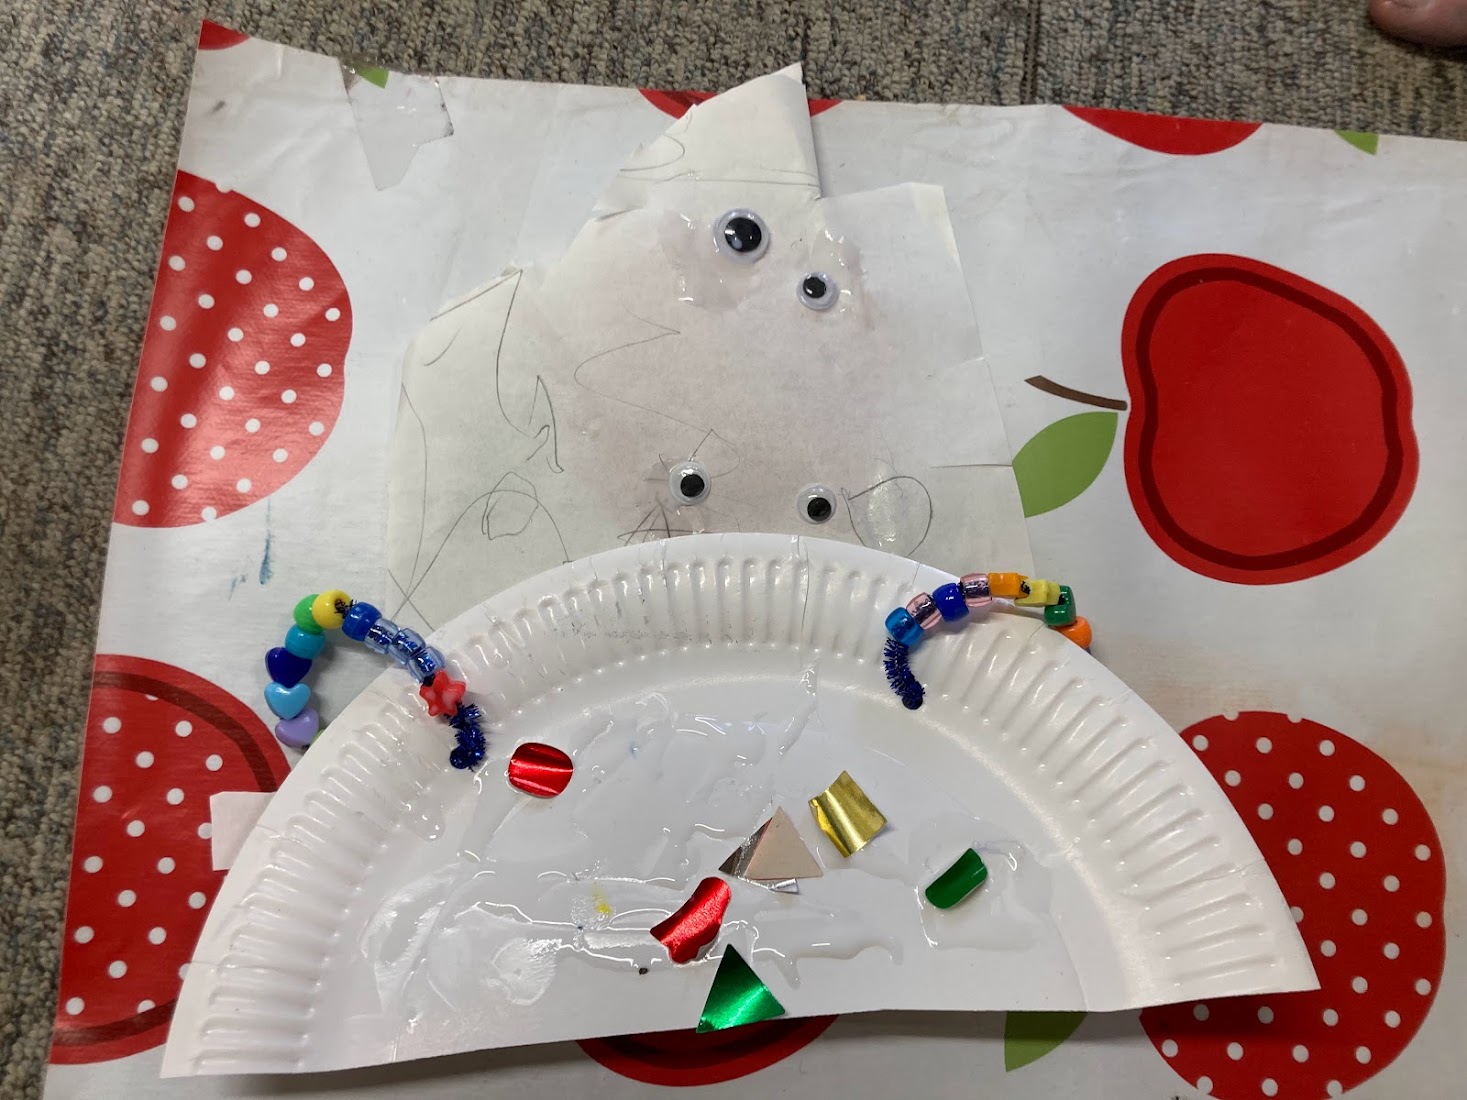
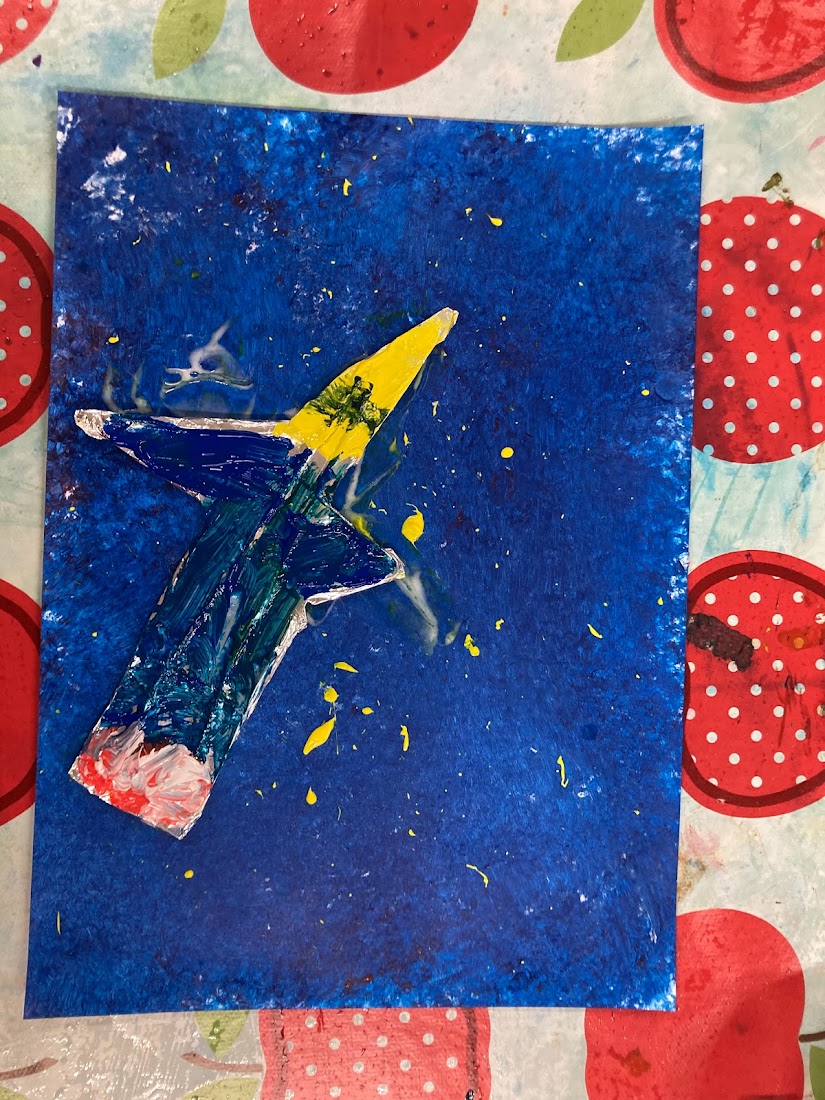
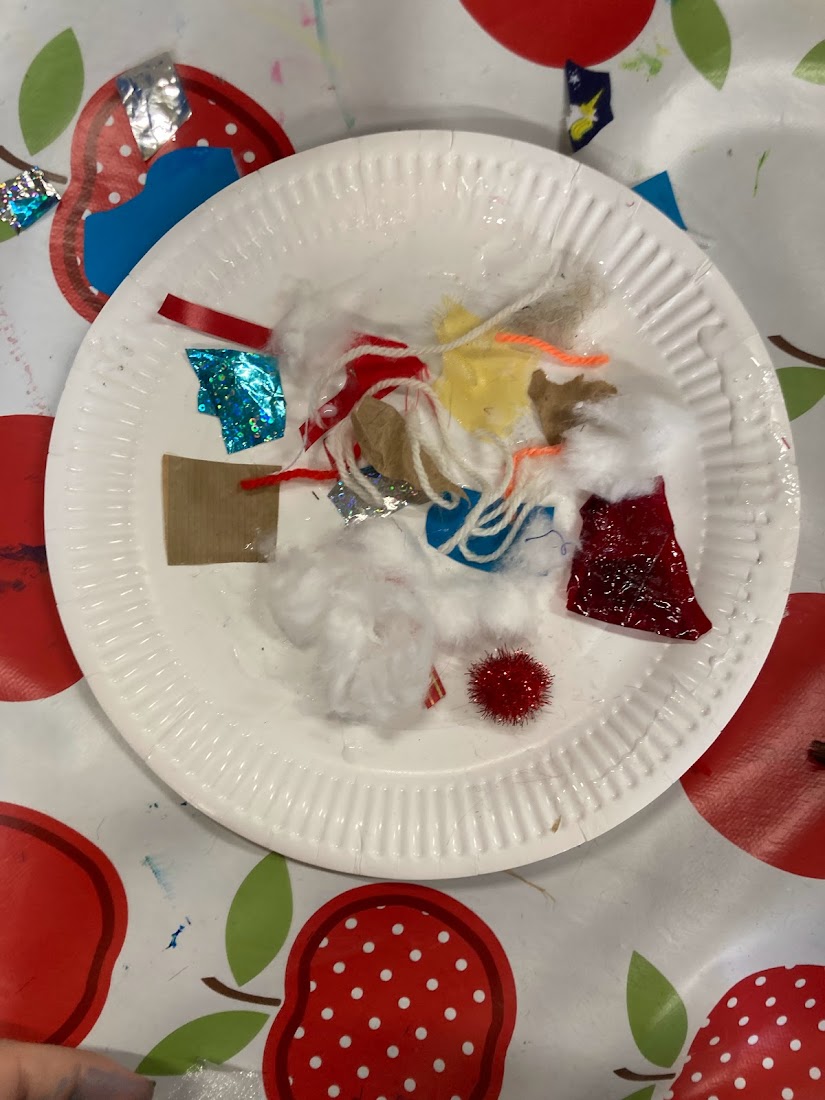
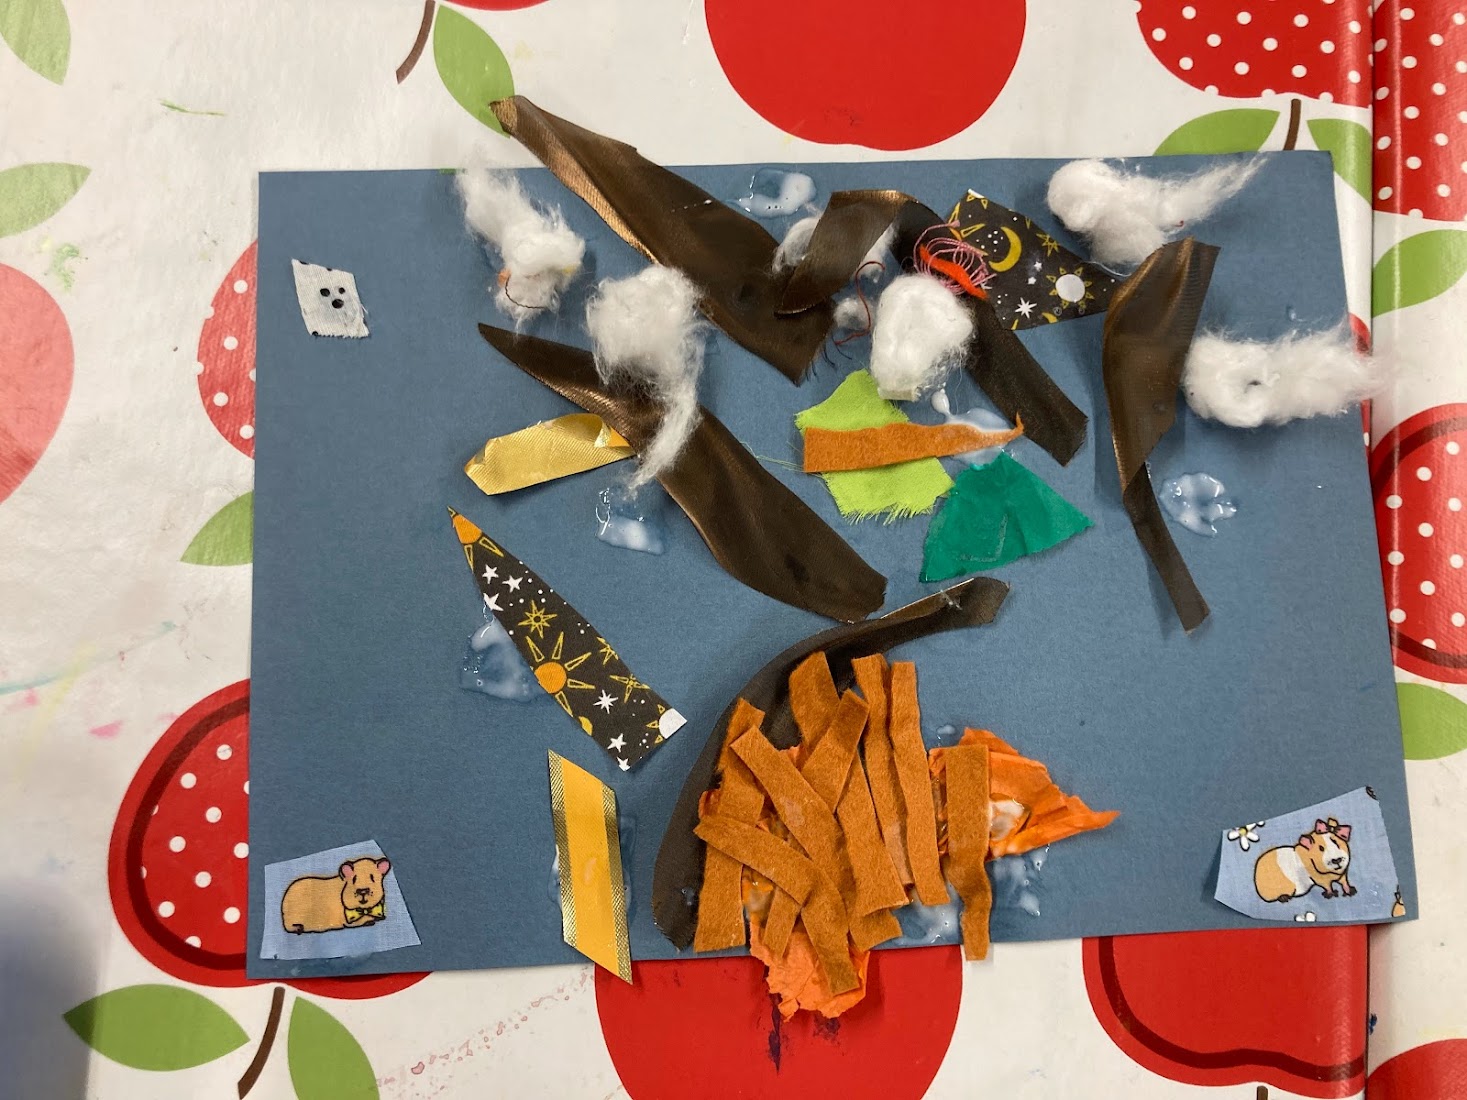
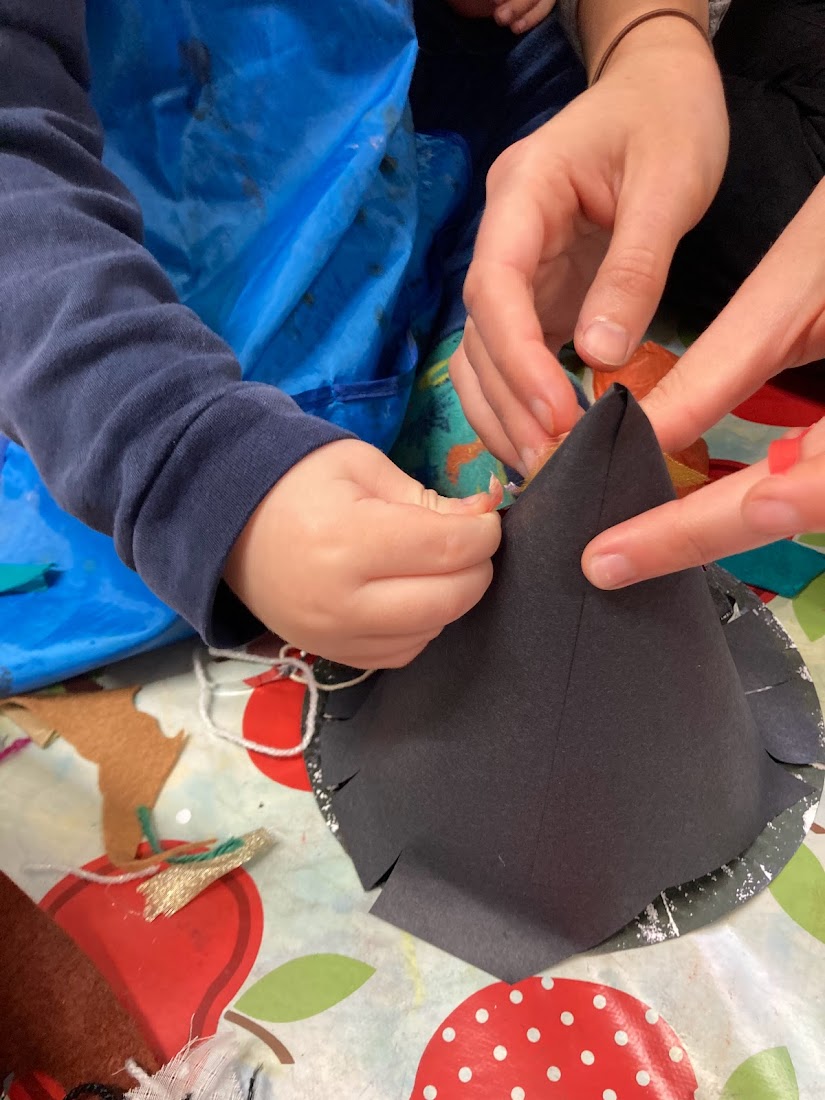
Whilst waiting for the paint to dry (so we could string the solar system together) the children made some alien space ships out of paper plates, they had different shapes to glue on and we also threaded some beads on pipe cleaners to add some fun hoops onto the ships. The toddlers found threading on pipe cleaners a lot easier than on string and had fun choosing different coloured beads. Finally everyone drew their own alien and gave them some googly eyes before sticking them in their space ship.
Next week we will be trying out foil embossing and creating some clay aliens.

Foil Emboss Space Paintings

This week we tried out foil embossing, using cereal boxes, string, foil and glue. To begin with the children drew and cut out a planet or space ship out of the cereal box cardboard. Next the children glued string to the cardboard, creating either lines or shapes. Next the children wrapped foil around their planet or space ship and gently ran their fingers along the string to make it stand out and cause an emboss effect.

Next the children created their space backgrounds by sponge painting blue, red and white onto the paper and splatter painting yellow. While waiting for the backgrounds to dry everyone had lots of fun painting their foil planets and space ships, it gave them the opportunity to strengthen the appearance of the emboss by painting along the lines or painting within areas such as the Earth like planet, the spot on Jupiter and the different sections on the space ships.
Everyone did a fantastic job and had lots of fun with exploring how we can use foil in artwork. Next week we will be doing some clay modelling and using beads and pipe cleaners to help us make some funky aliens.

Paint Fireworks and Collage Bonfires

The main craft we made today were some paint spinning Catherine Wheels. These were made by squeezing blobs of two different colours of paint onto a paper plate, which we then flipped upside down onto some paper and spun. Next we added a wooden stick for the handle and some pipe cleaners and stars to the plate.

During the second half we made three different crafts. First we had fun trying out string painting. Then the toddlers enjoyed mark making with oil pastels for their final firework picture. For the last activity we had a collage box of different materials, some glue and paper plates and they had lots of fun making their own bonfires.
Next week is the start of our space topic, we will be making our very own solar system to hang in our houses.

Free Choice Fireworks & Bonfire Collages

As it is Bonfire Night soon this week the children have made some bright and colourful firework and bonfire pictures.
For the fireworks they had the choice of oil pastels or paint and everyone had access to glitter glue and star sequins. Meanwhile for the bonfires everyone created collages. We ended up with a wide variety of colourful and vibrant pieces of artwork. Many of the firework pictures look like literal explosions of colour! The children enjoyed letting their creative juices flow and coming up with their own interpretations of how fireworks appear.
Next week we will be starting our space theme with some foil embossing and painting.

Derbyshire Wildlife Final Piece – Part 3

Everyone made an incredible amount of progress today and to help with the adhesive paper issue we started cutting off the areas it was applied that would not have yarn attached. Looking at the yarn paintings closely I think the patterns that the yarn makes reminds me of some of the colouring pages you find in adult colouring books. The tenacity and patience everyone is showing for their yarn paintings is incredible, truly labours of love.
We finished the session by planning and choosing where the completed hedgehog would go on our display.

Halloween Jars

This week as a break from our display project the children painted some Halloween Lantern jars to take home. They had the choice of tissue paper or paint for decorating the jars, everyone ended up decorating two jars to take home. Unfortunately I missed taking photos of three of the jars as we ended up needing to use the radiators to dry the jars between layers of paint and I was helping one child as parents arrived to take them home. This was quite different to when the younger children created autumnal jars and may have been due to wetter and colder weather.
As with the younger children I brought some electric candles into session for the children to check their lanterns with. One of the lanterns I missed photographing was actually all black except for a orange pumpkin, it looked quite interesting with the light mostly obscured except for one area.

Next week art club will be on Tuesday instead due to a funeral I am attending on the Friday and we will be continuing with the display work.

Witch’s Tool Kit

This week we not only made some awesome witch themed art but we also had fun with two mini science experiments!
The first thing we did was paint some paper plates for the witch’s cauldron black so we could leave them to dry while we did our science experiments. We used a sponge and dabbed the plates to add some texture to them rather than smearing the paint.

Our first experiment involved bicarbonate of soda and vinegar with food colouring mixed in. The children used a pipette to squirt the colourful vinegar onto some paper covered with bicarbonate of soda. The children loved watching the fizzy colours and thought it was like magic! They also enjoyed watching how the colours mixed when you placed two colours near each other.

For our second experiment we covered a shallow tray in shaving foam and then using a pipette again we added drops of food colouring around the foam before partially mixing the colours together. Then we gently placed paper on top of the foam, pressing down lightly before removing it and using a piece of cardboard to scrap the foam off, leaving the print of the colours behind. We stuck the foam print onto one of our plates for the cauldron and then stuck the second paper plate (which had it’s middle cut out) on top so that it looks like a witch’s cauldron with a magic potion brewing.

For our final craft we made a witch hat using black card and a paper plate, which we then decorated using collage materials.
Next week we will be creating some bonfire night themed art.

Collage Costume Masks

This week during our 4-9 year old sessions we created some fantastic masks out of card and collage materials. Some of the children knew what they wanted to create straight away, a few needed some time to think first. Although seeing other’s creations quickly provided the spark they needed to come up with their own ideas. Another choice that quickly spread among everyone was putting see through fabric or netting over the eye holes on the masks, particularly the colourful cellophane.
We had a teddy bear witch, two dinosaurs, a rainbow witch, one unicorn, one batman, one spider-man, a golden masquerade mask with a feather, a dog mask and two multicoloured masks that were focused on different textures and bright colours.
Next week we will be creating some mixed media bonfire night art.

Derbyshire Wildlife Final Piece – Part 2

During the second session spent on the animal artwork we had a few mishaps with the adhesive paper meaning one of the pieces of art needed redrawing and new adhesive paper adding. The adhesive paper can get stuck firmly to the protective coating that is meant to help it keep it’s stickiness. Everyone worked hard and displayed great perseverance despite the issue we found with the adhesive paper.

The Spooky Undead

This week the toddlers had fun creating some spooky undead creatures. First we created some skeletons by gluing cotton buds and cotton wool onto a paper figure to represent the bones. Then we made a skull mask out of a paper plate, we stuck tissue paper onto the mask to create texture. For the finishing touches we stuck teeth, eye and nose holes onto the mask.
For our second activity we painted a ghost cut of black paper white using cotton wool. We used a peg to hold the wool as we painted the ghost. A couple of the children ended up painting their hands white too!
Finally the children created a mummy by covering a cut out of a person with different tape. To make our mummies more exciting I brought my box of different coloured tapes so the toddlers could choose what colours they want. They really enjoyed pulling and tearing the tape.

Next week we are going to make some witches potions and hats.